Joint demosaicing and denoising of RAW images with a CNN
Motivation
I own a Pentax K3 DSLR camera that I used in the past years to produce many many images, all shot in RAW mode. Over the time I implemented file reading routines in C# (thanks to DCRAW!) but never got better results out of my RAW images than the in-camera JPEG conversion or other RAW conversion tools (Adobe, Darktable, RAWTherapee, etc.), and this despite the fact that all I’m doing is about image processing in the one way or the other :)
For managedCuda I further implemented the wrapper for CUDNN despite that I actually had no real use for it by myself, as I was not that much interested in neural networks at that time. But it also got me thinking and I was looking for a real-world problem that might be interesting to play with and not some useless repetition of one of the many known networks already implemented thousands of times.
At GTC 2017, Orazio Gallo presented “Image Restoration with Neural Networks” together with a follow up paper by Nvidia Research “Loss Functions for Image Restoration with Neural Networks”. And that was it: being useful on the one hand, I took this as an ideal testbed for getting familiar with CUDNN and neural networks on the other hand: I implemented the Convolutional Neuronal Network of said paper from scratch without any use of other libraries for NN like Caffe, etc. And finally, I achieve better results than what the market can offer me! At least in some cases. As the results are so promising, I came up with the idea of sharing the results.
But let’s start slowly…
The problem
The camera’s sensor cannot detect color of the light that falls on each pixel: Without color filters a sensor would give only a brightness or luminance information, i.e. a gray scale image. To obtain color information, every pixel is covered with a color filter that only lets light through of a certain color: Red, Green or Blue (Wikipedia).

A full color image is than obtained by interpolating the surrounding pixels for missing color information in one pixel, a process called demosaicing.
Rendering of a full color image is further not only restricted by two missing color components per pixel but also by the amount of noise that every sensor has, noise that increases with amplified sensitivity of the sensor. Shooting photos at base ISO adds only little amount of noise for my camera, whereas at ISO 6400 noise is a severe image quality deterioration source.
As stated in the Nvidia Research paper, best results can only be achieved if image denoising and demosaicing are coupled together, as both steps depend on each other.
Camera noise profile
To create simulated RAW files for the different ISO settings of my camera, I profiled the noise for each ISO value by recording a series with increasing exposure time of the same white surface with homogeneous lightning (for each ISO setting). Then I measured in multiple patches the mean and standard deviation values to obtain a noise profile for varying brightness as in the paper (Foi, A.: Clipped noisy images: Heteroskedastic modeling and practical denoising. Signal Processing 89(12) (2009) 2609–2629), with these values as final result:
| ISO | α | β |
|---|---|---|
| 100 | 6.66667E-05 | 0 |
| 200 | 0.0001 | 0 |
| 400 | 0.000192308 | 0 |
| 800 | 0.000357143 | 0 |
| 1600 | 0.000714286 | 0 |
| 3200 | 0.001388889 | 0 |
| 6400 | 0.0025 | 0 |
(For comparison the values used in Nvidias paper: α = 0.005, β = 0.0001, so higher noise levels that I encounter with my camera.)
Convolutional Neuronal Network (CNN)
The CNN as presented at GTC has the following layout:

It is not very deep, mainly because a fast inference speed is desired for the entire demosaicing and denoising step. The activation in the convolutional layers is parametric RELU activation.
Implementation details
CUDNN gives us efficient implementations for convolutional layers, but two main parts of the published network were missing: A parametric RELU activation with back-propagation is not given in CUDNN and the MS-SSIM error metric for the final layer is also not part of it. These two needed to be implemented in CUDA kernels. But together with these two additions, CUDNN and CUBLAS one can implement a fully functional CNN with relatively little amount of code lines in C#.
The size of one image patch for training is 31x31 pixels. The MS-SSIM kernel is an approximation of the full error metric, same as in the original implementation by Nvidia: The error is only computed for the central pixel and not as an average of the entire patch to speed up computations. To avoid a bias towards the Bayer pattern color of this central pixel, I merged 2x2 patches to a group patch that is used for the first demosaicing step. Doing so, all four pixels of the Bayer pattern (RGGB) are once the central pixel of such a grouped patch. As input data I store these grouped patches as a tile of size 66x66 pixels as 2 pixels get lost at each border in demosaicing.

In the beginning I experimented with simple bilinear interpolation of the missing color channels to get an input image for the CNN. With time I figured out that if I use a slightly better approach for demosaicing, a method that is aware of the edges in the image similar to the method used in many RAW conversion tools like DCRAW, I obtain slightly better results in the final image. Maybe the CNN is not deep enough to encode this step entirely, I’m not an expert for NN to identify the cause.
All pixel values are normalized to the range 0..1 according to the maximum bit depth of the sensor (14-bit for my camera or 16384). Before feeding the network, the image values are shifted to -0.5..0.5 and then back to 0..1 after obtaining the result from the CNN.
It is also to note that the additional CUDA kernels where not highly tuned for speed, I know that there’s potential for improvement. Slowest kernel, by the way, was the back propagation of the parametric RELU, splitting the kernel to two kernels already speeded up training by a factor of two! One could do more, but this is just a fun project :)
White balancing
Pure RAW data is not white balanced and is given in device specific mostly linear RGB color space, mainly defined by the color filters on the sensor. For edge guided demosaicing I apply the white balance settings stored in the RAW file as would a “As Shot” setting in Adobe Camera RAW, after debayering the colors are scaled back to original scaling to ensure that noise levels are not amplified for red and blue channels. The CNN is thus trained only on not-white balanced images. Nevertheless, it also scopes well on well balanced test images in non-linear sRGB color space, but sometimes a slight color cast is visible in the results.
Highlight recovery
Usually the green channel is the first channel to saturate when over exposing the sensor which leads to a pinkish color cast in saturated image areas. In this case the green channel is then restored from information in the red and blue channel.
Color space conversion
Not for training but for assessing the denoising and demosaicing quality of the CNN, I convert the raw linear RGB color space to sRGB according to the DNG specification and DNG SDK using color space conversion matrices as given at http://www.brucelindbloom.com/ and DNG files from my Pentax K3 camera.
Training data
For training data, I chose all the images I took with lowest ISO setting (ISO 100) and debayered them by sub-sampling the 4x4 Bayer pattern: Averaging the two green pixels to obtain the green value and keeping the values for red and blue. Further, to reduce the already low noise level, I rescaled the images by a factor of 0.25. Each pixel is now the average of sixteen pixels (or 32 for green), noise is practically no more present in these images, which are now the ground truth images. Then according to the Bayer pattern color channels were removed from the ground truth images and artificial noise was added as described in the Foi paper for each ISO level. The ground truth images and the noisy images were tiled to patches of size 66x66 pixels, and four 2x2 patches were grouped for the first demosaicing step. This four-patch image is then split in sub patches of size 31x31, the actual patch size for training the neuronal network, fed for training in batches of 64 31x31 patches.
As the referenced paper used the 5k dataset as data source, I also took all the lower ISO images from this dataset to enrich the amount of data. In total I obtained 1.872.332 31x31 patches from my images and 133.632 from the 5k dataset, in sum 2.005.964 patches. For training I used 90% of them (random order) and the other 10% for testing.
Training
Training the network for one epoch takes approximately 10 minutes on a Nvidia TITAN Xp and I let it run for 2000 epochs which took then approximately two weeks for each ISO setting.
Inference
Inference is implemented twice, once with CUDNN and once using the convolution implementation of NPP in case one has no access to CUDNN. Both give the same result whereas the CUDNN implementation is much faster. On the other hand, the convolution layer implemented “by hand” shows nicely how this step works. To process larger images, the image is tiled in patches of size 512x512 which are then processed independently.
Results
This is the mixed MS-SSIM/L1 error during training over 2000 epochs:

And compared to the test dataset (not seen during training), one can see that both sets match quiet well. Interestingly the error for ISO 400 is slightly better for test dataset than during training, an effect not seen for other ISO settings.

For completeness also the L1 and L2 errors for the test dataset:


To compare with other methods, I prefer to not compute multiple error norms and compete with pure numbers. The impression of a certain result has always some personal bias, why I’ll show only the resulting images, sometimes with a comparison from other methods, sometimes without. In most cases the results are just stunning and at least have a similar image quality than darktable or in-camera JPEGs. I did not focus on properly tuning the tone maps, I just use the one default one that matches quiet well most of the times, the only interest is the quality of debayering and denoising, not the color rendering.
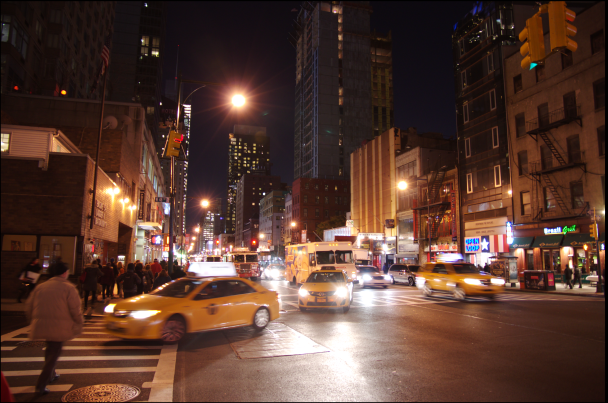
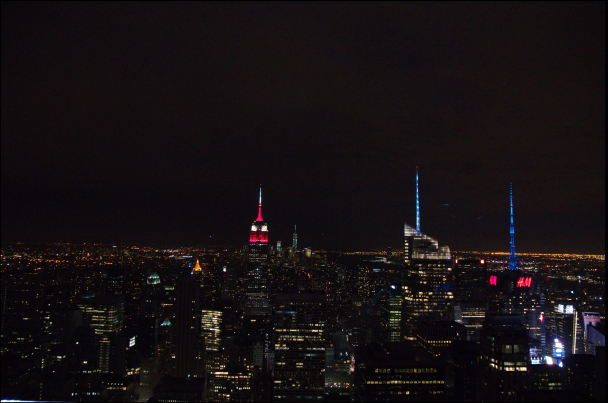
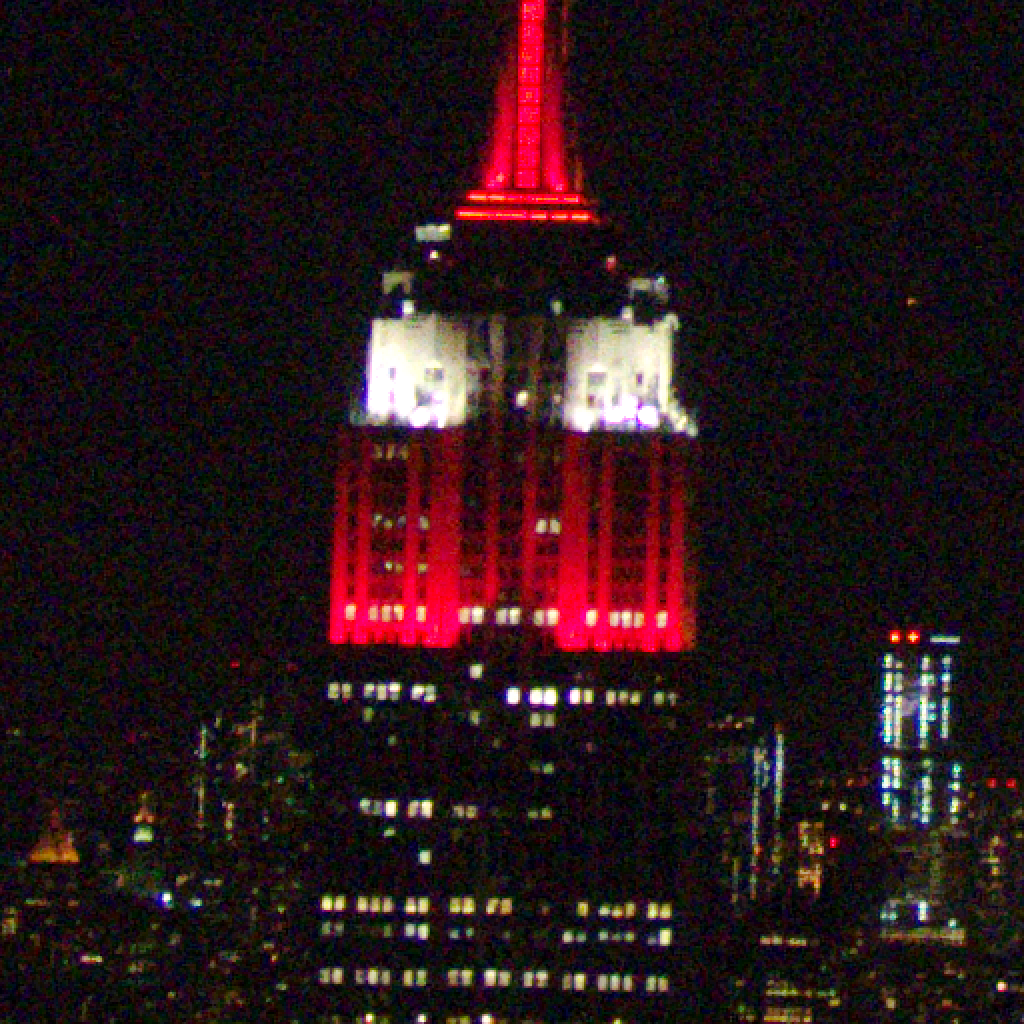
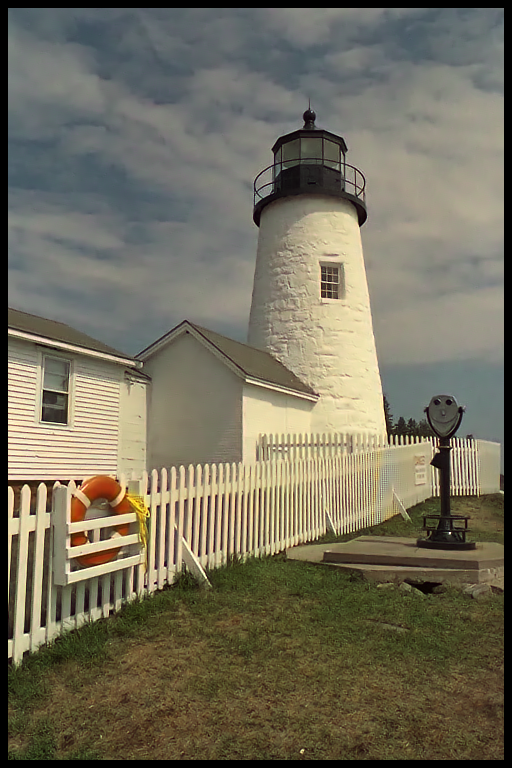
As one can see, there is also one downside of this method: For high contrast features, like light spots in night images, the network creates some checker board pattern artifacts. I haven’t found out yet why this sometimes happens or how to avoid these artifacts. First, I had the impression it comes from over saturated pixels, but it actually doesn’t. And also, the famous light house image is not perfectly rendered, some artifacts are still visible in the fence :(
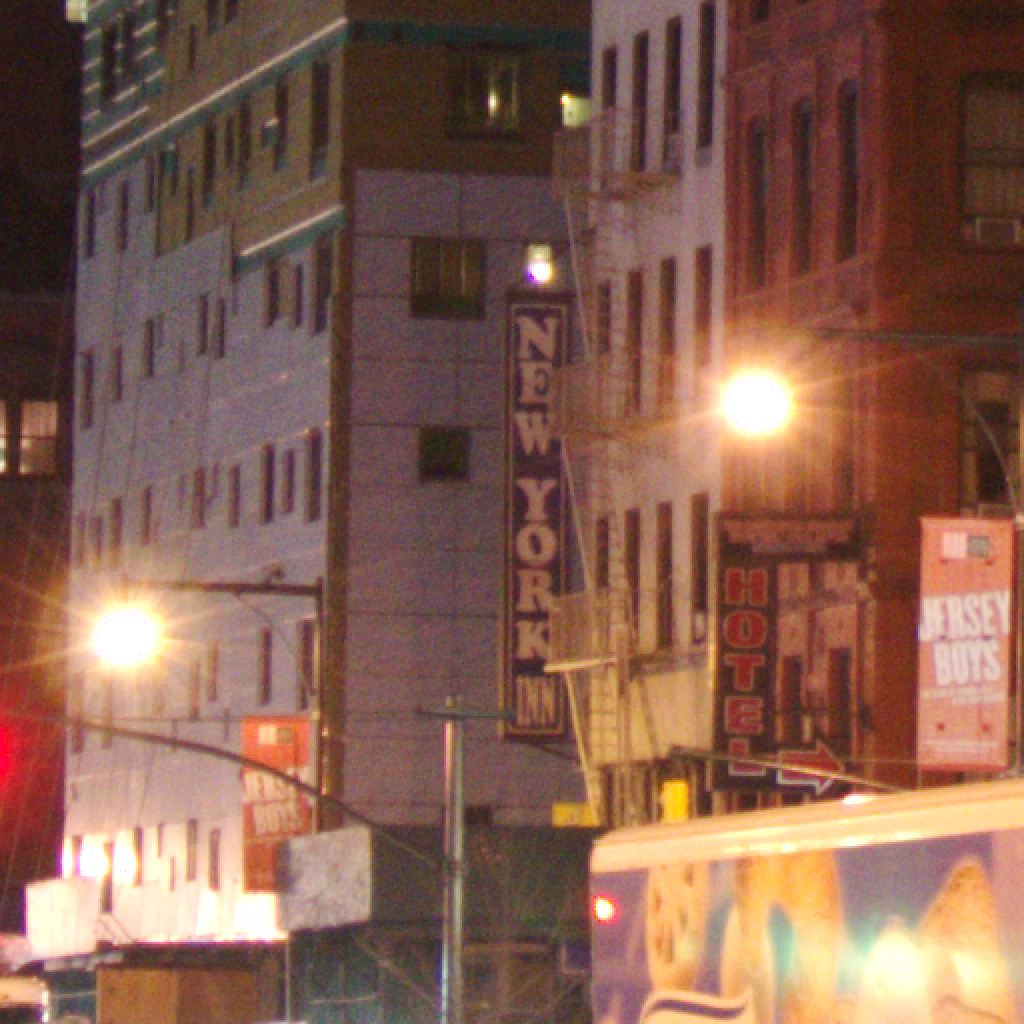
But never the less, if no artifacts appear, I am amazed by the resulting image quality! Judge yourself.
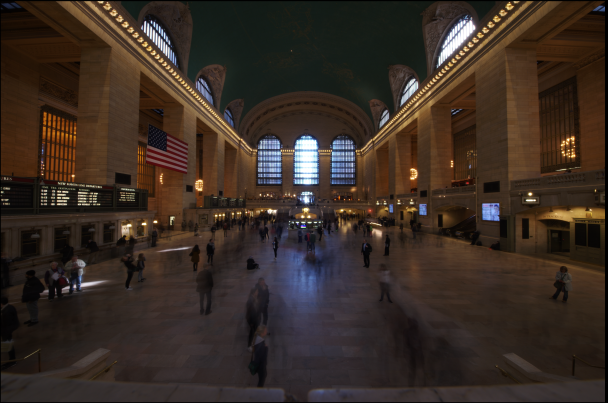
If the camera performed corrections for the lens used, I reprocessed the RAW image using the Pentax utilities leaving settings on default and disabled all lens corrections. If the in-camera JPEG did not contain lens corrections (for old lenses), I used the in-camera JPEG as reference. For darktable I only enabled demosaicing using AMAZE algorithm and NLM-denoising with default settings. I’m aware of the fact that by tuning the parameters I could optimize the results, especially in the noisier ISO levels.
Side note: all images are photos that I made (except lighthouse) and I make them publicly available as RAW files so that everyone can play with the neural network, but for nothing more. I don’t grant here any license for reuse, publishing on other places or any modifications. If you like them, feel free to let me know what you want to do with them, I usually don’t bite :)
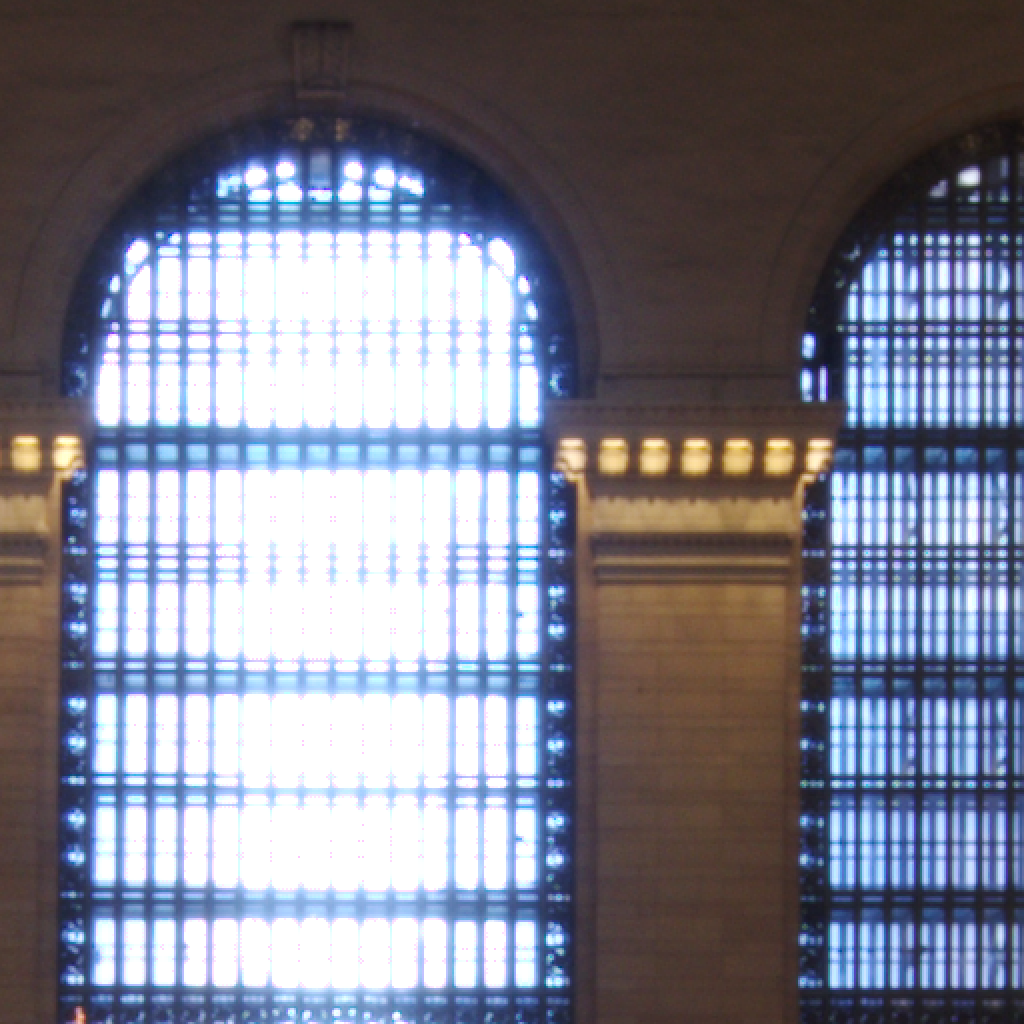
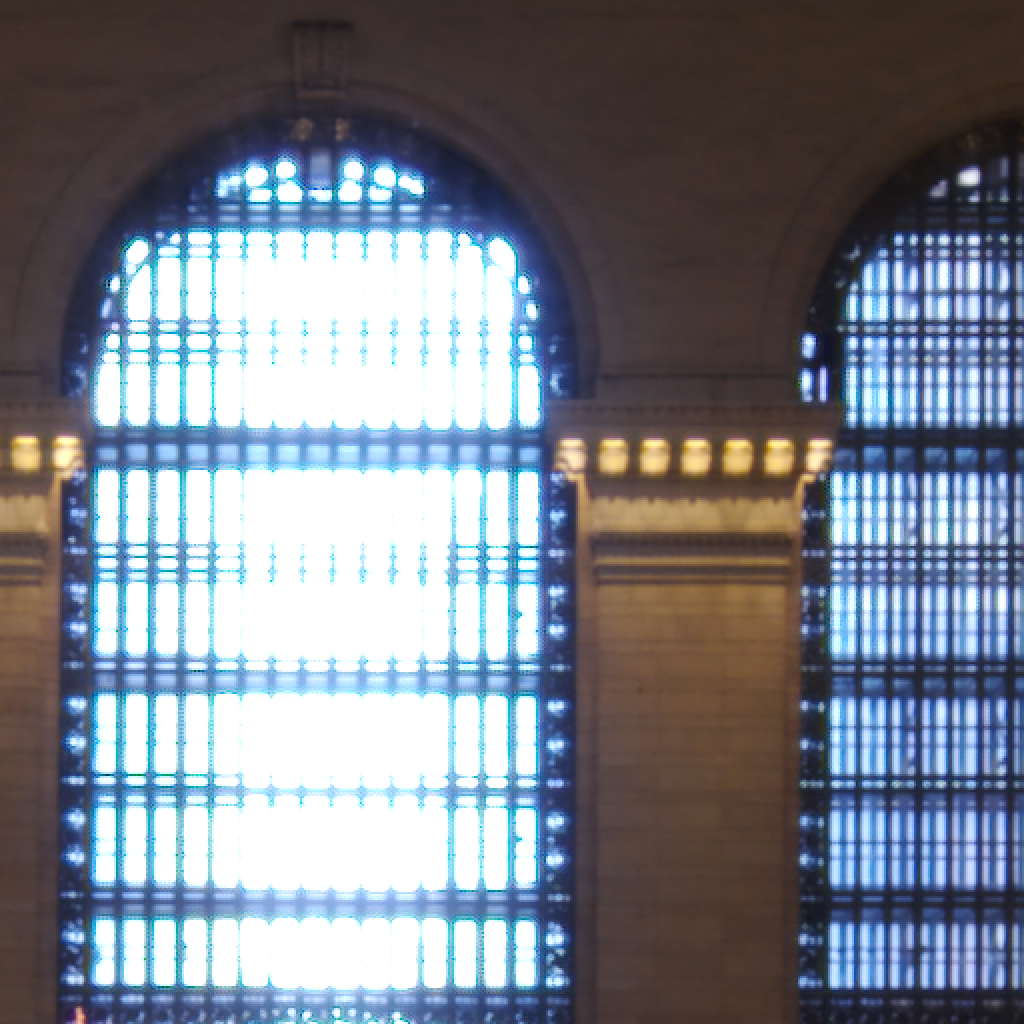
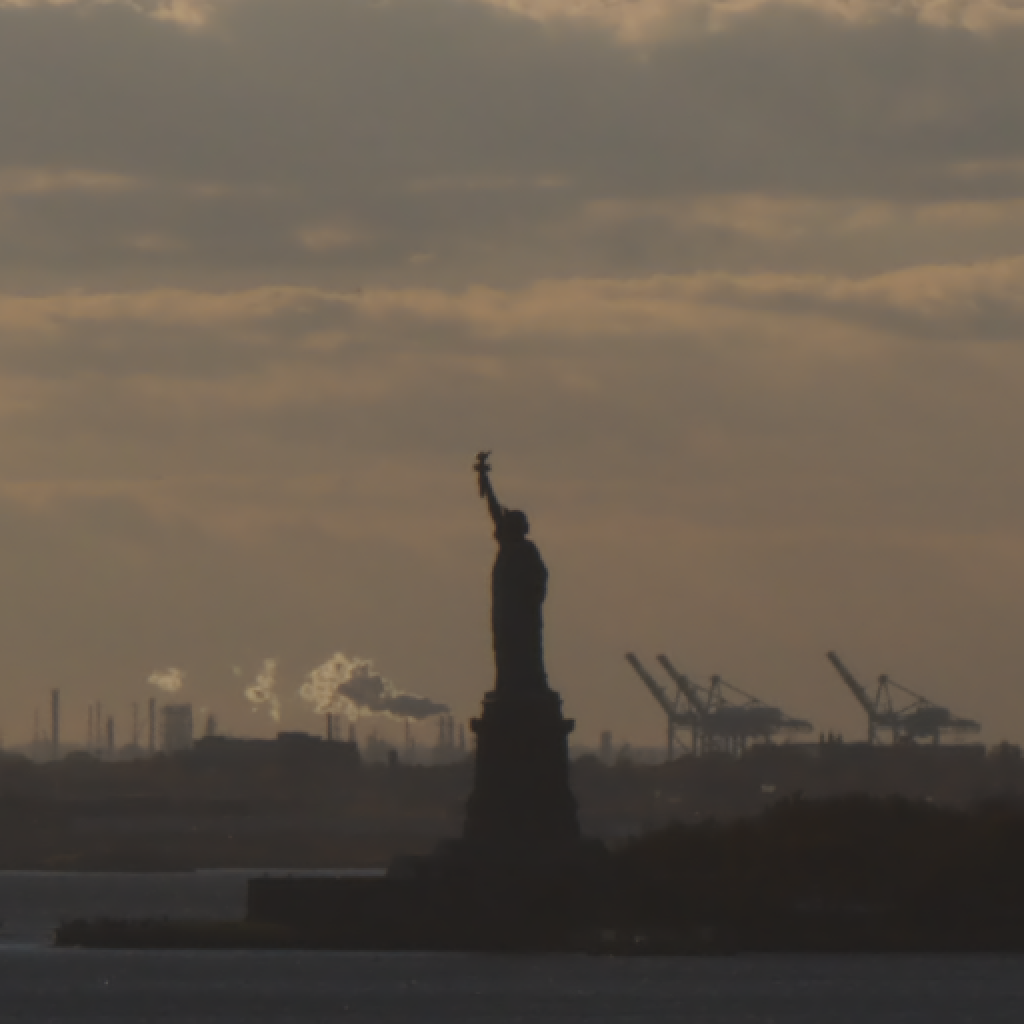
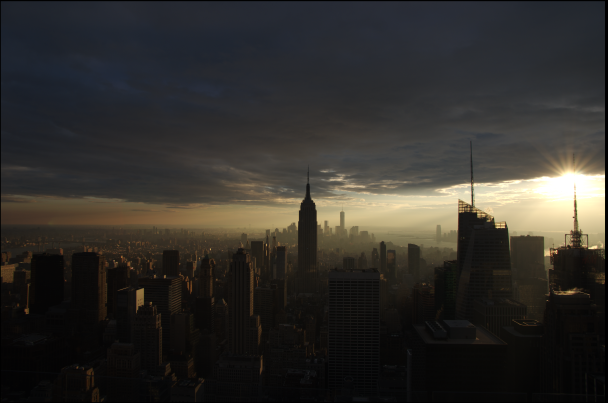
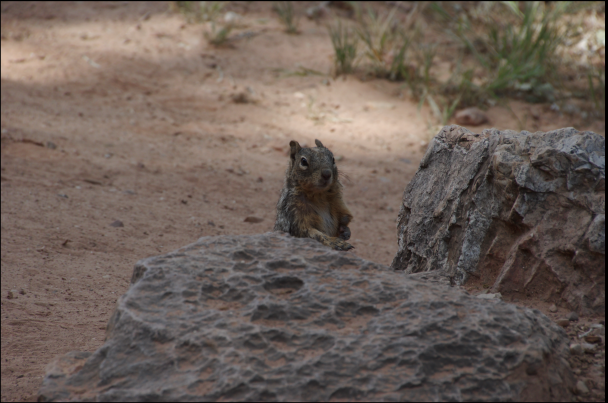
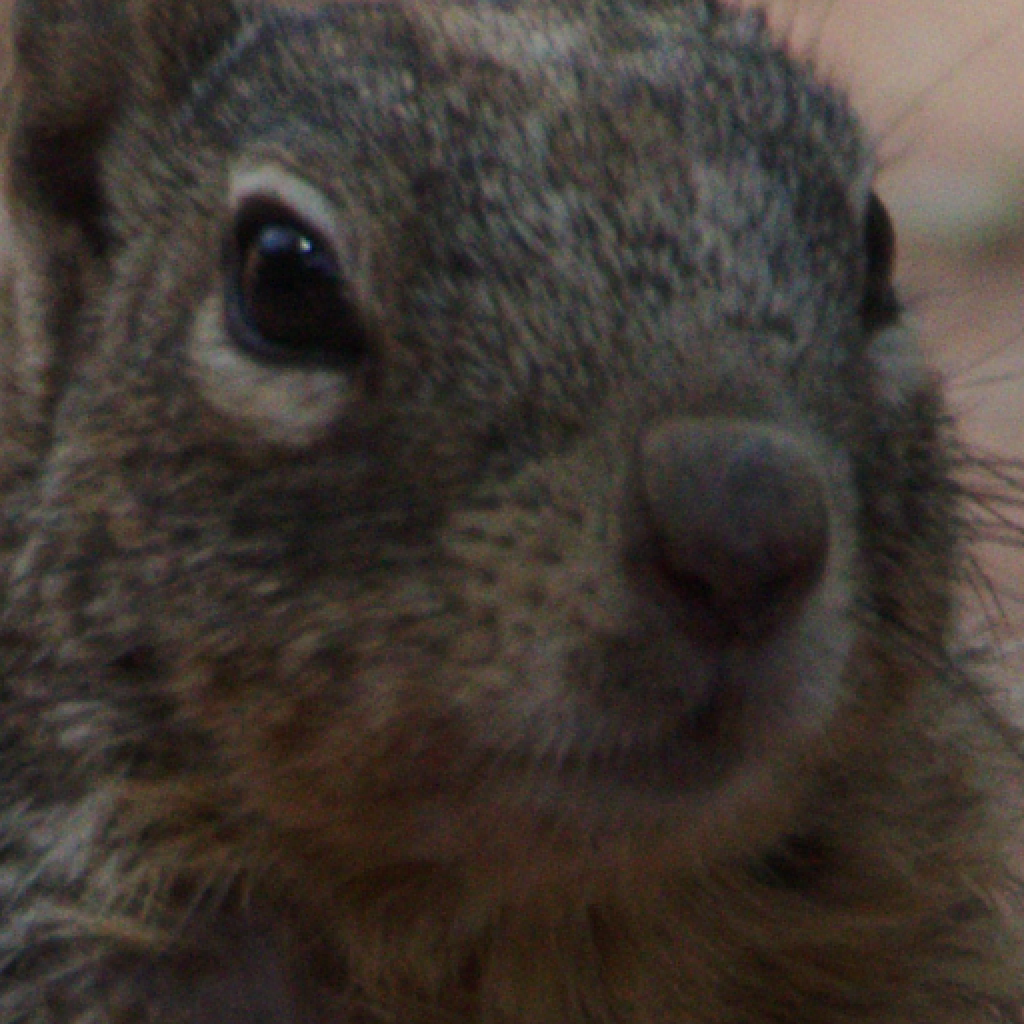
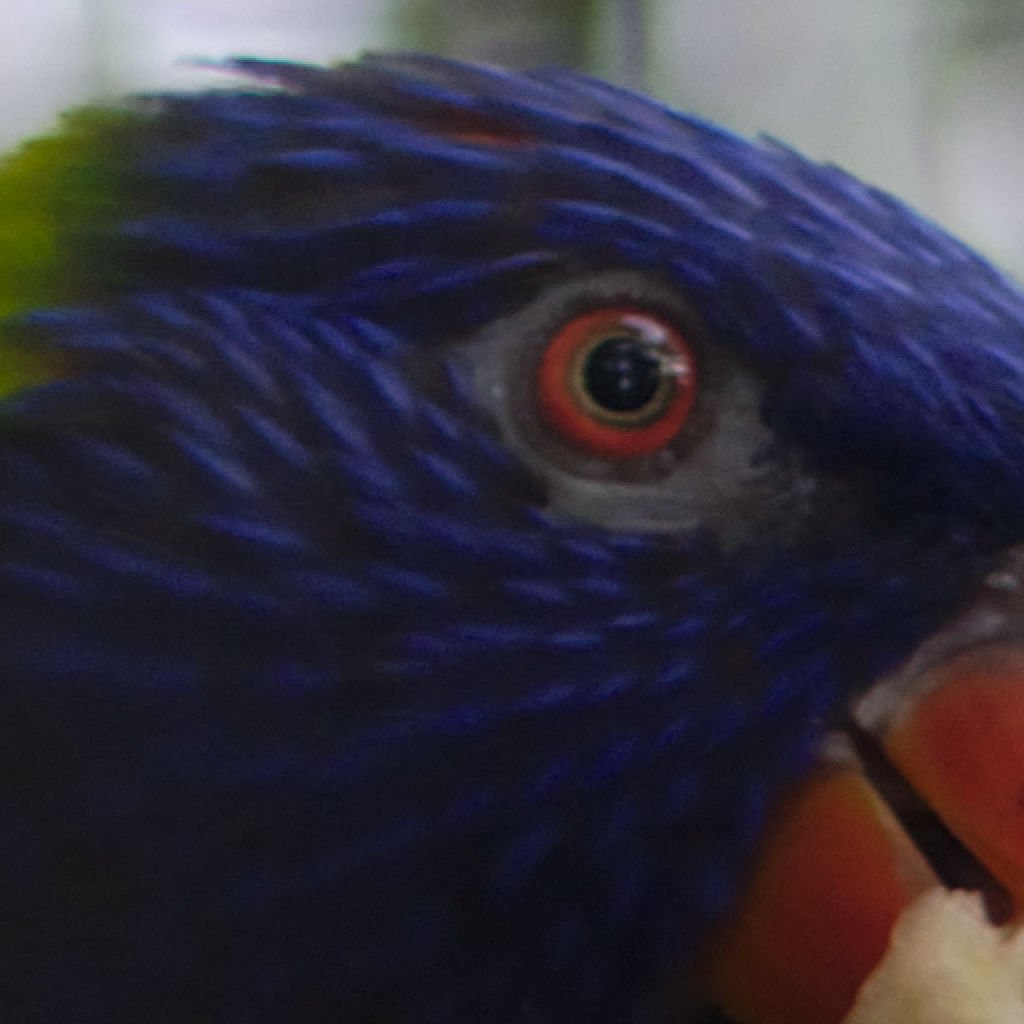
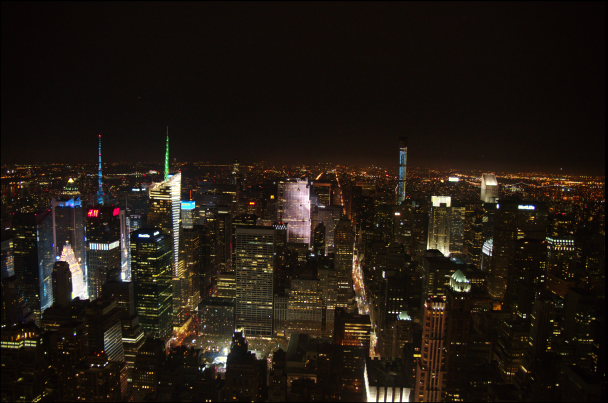
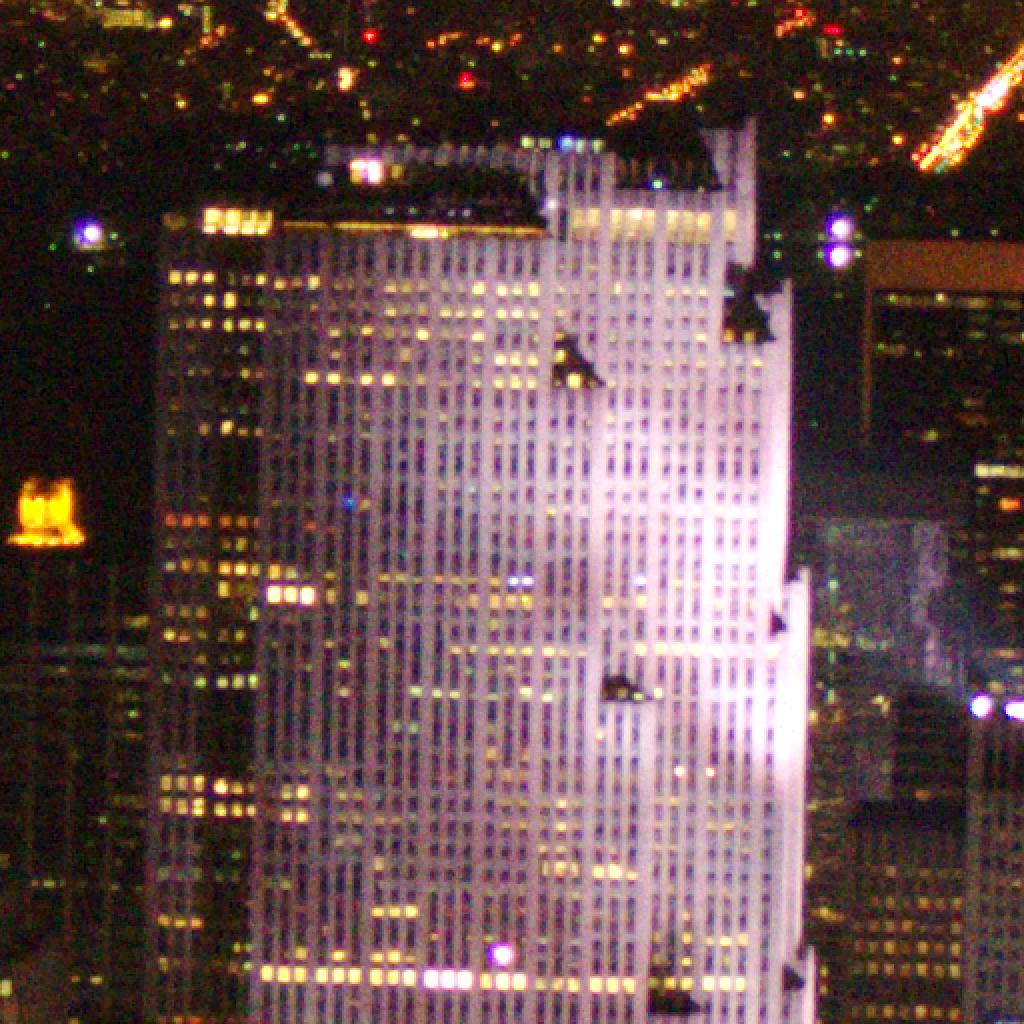
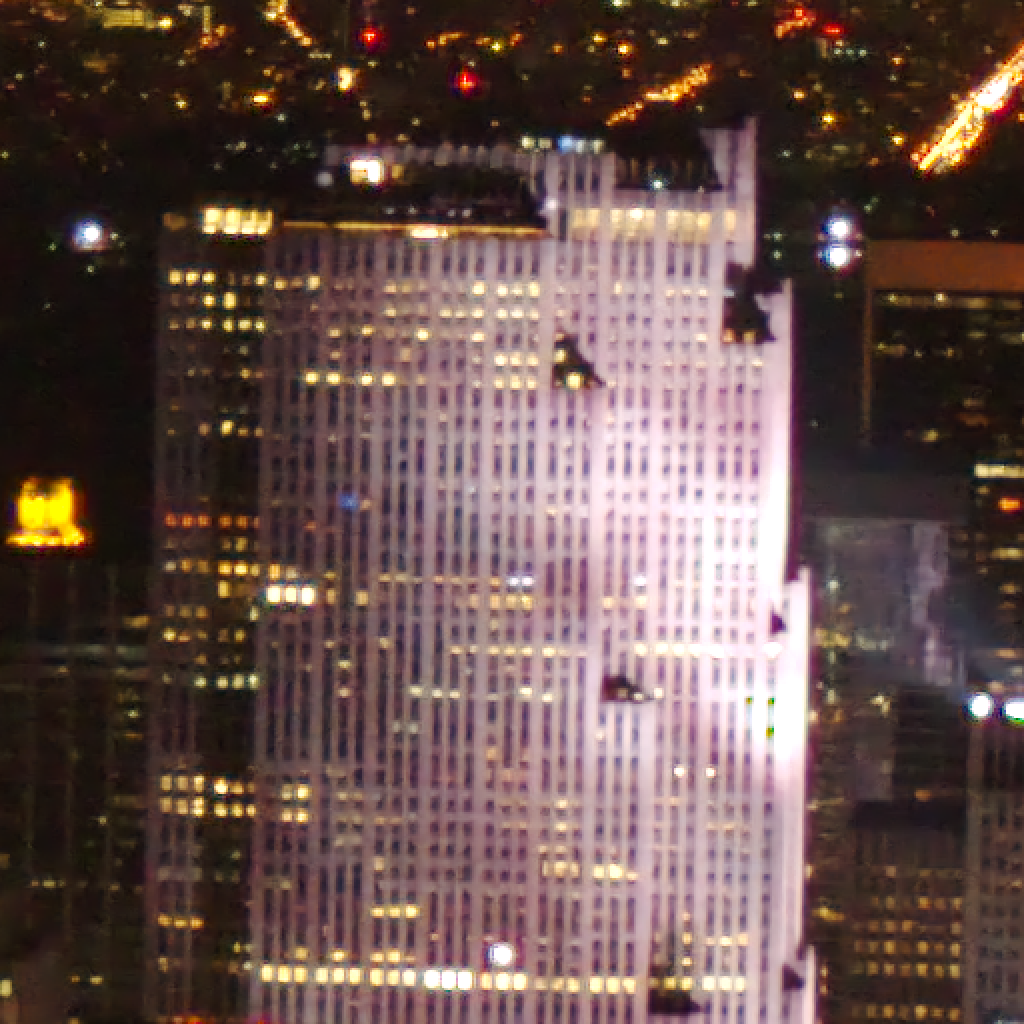
ISO 100
| Noisy RAW image simple demosaicing | Result of CNN |
|---|---|
 |
 |
 |
 |
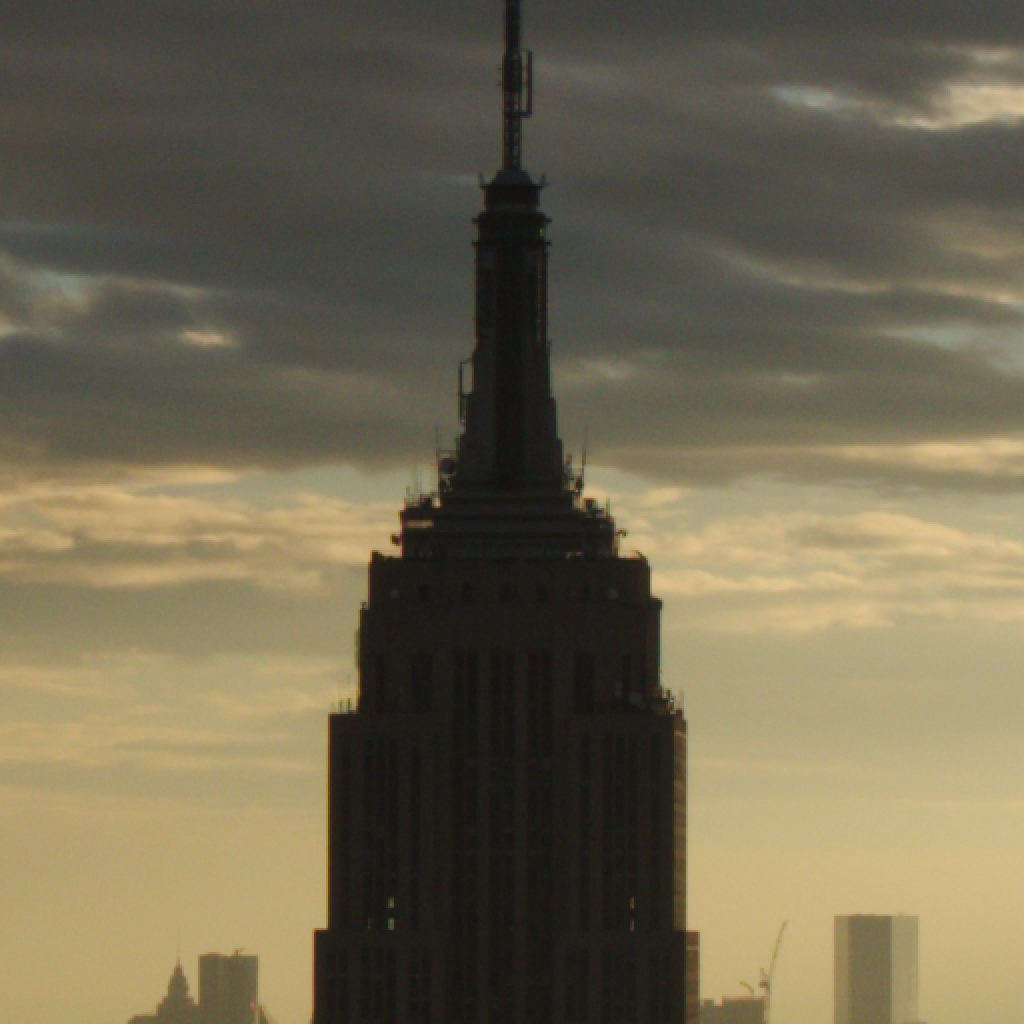
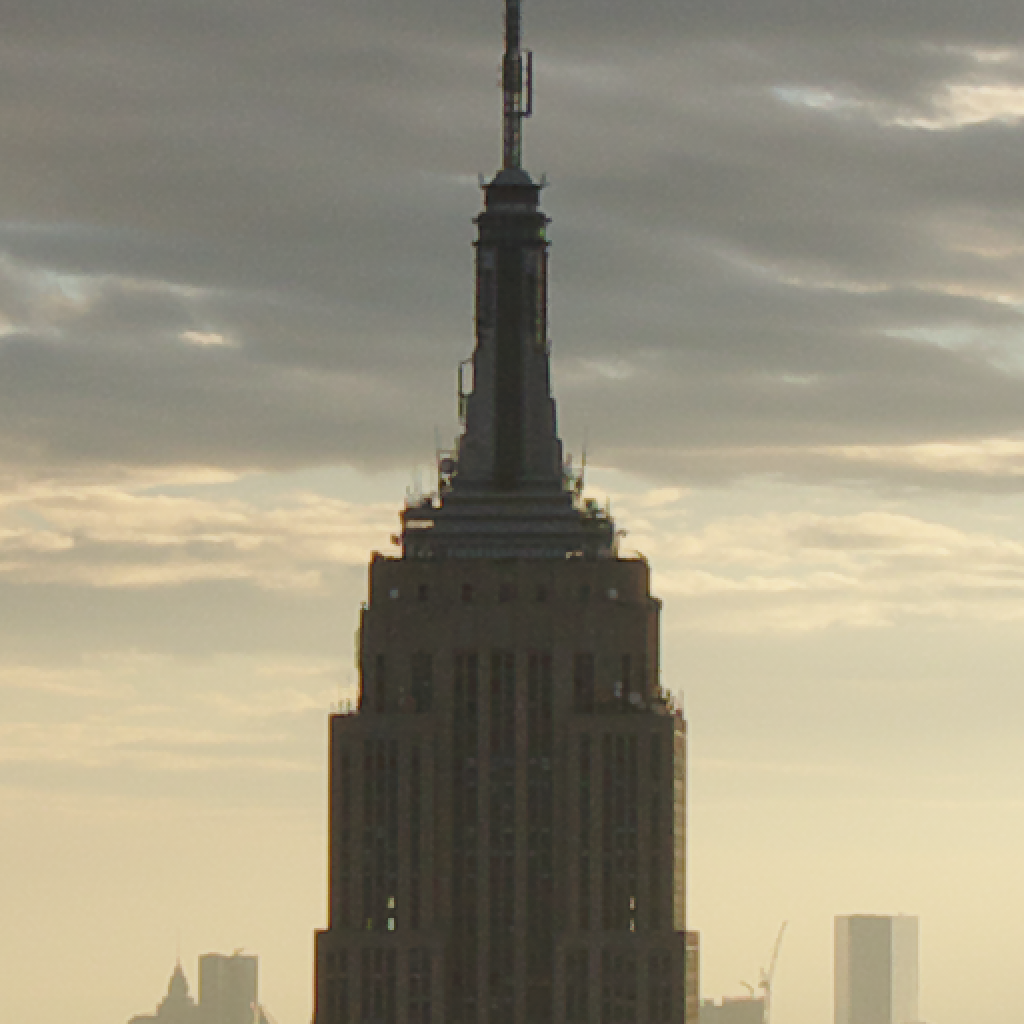
| Pentax RAW development | Darktable |
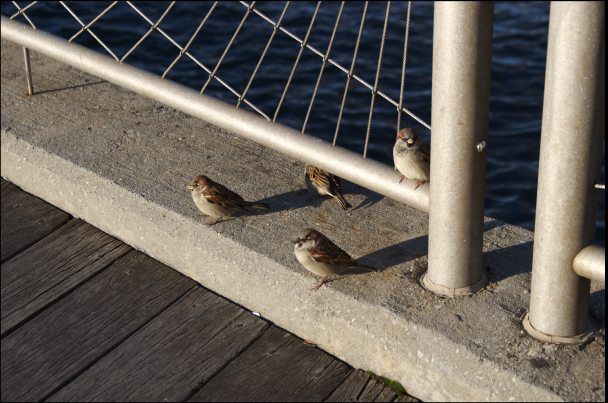
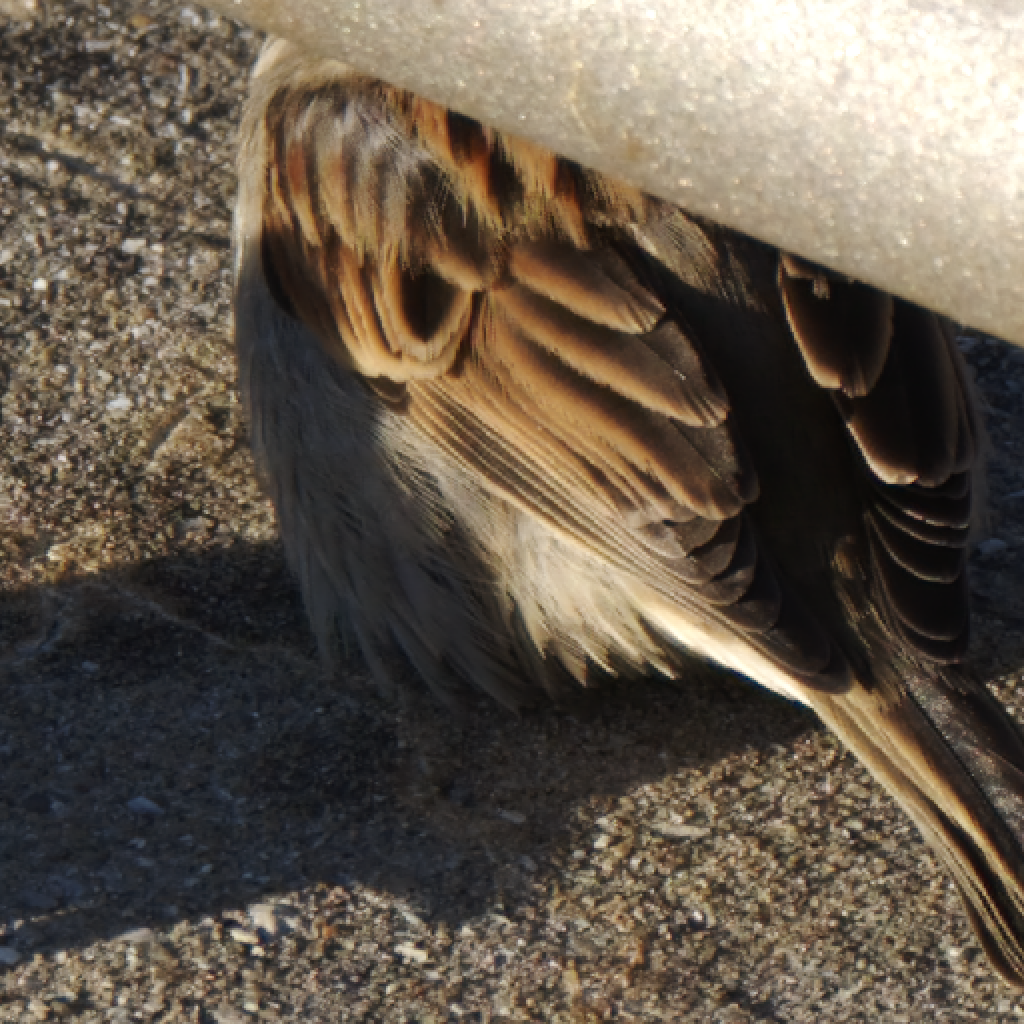
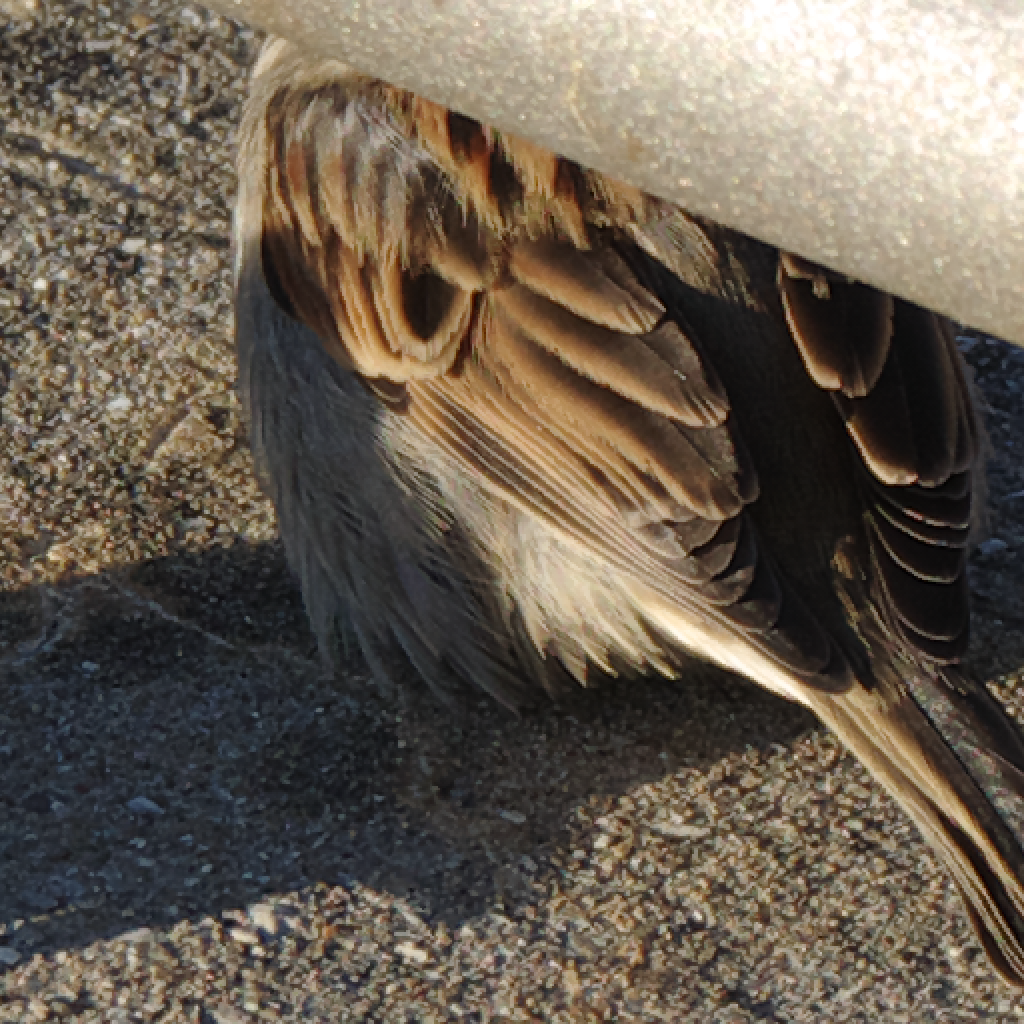
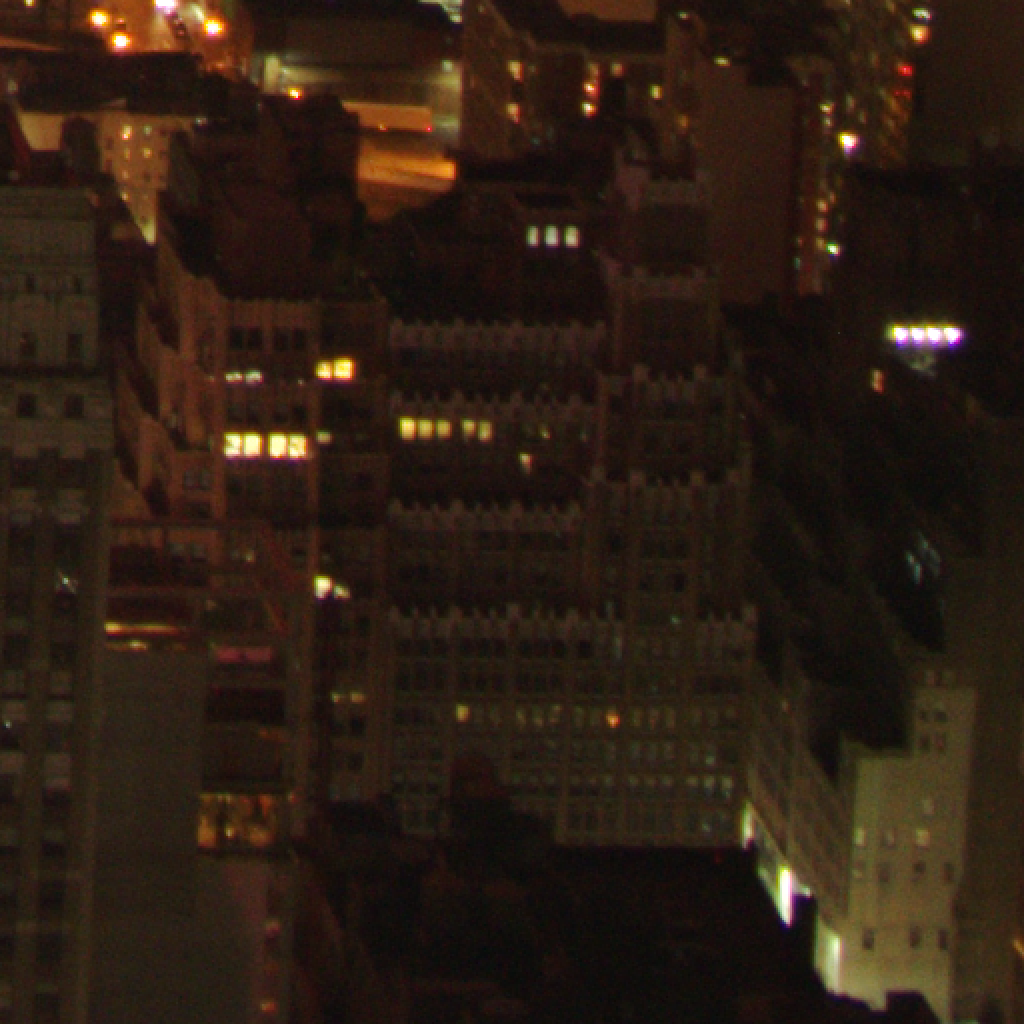
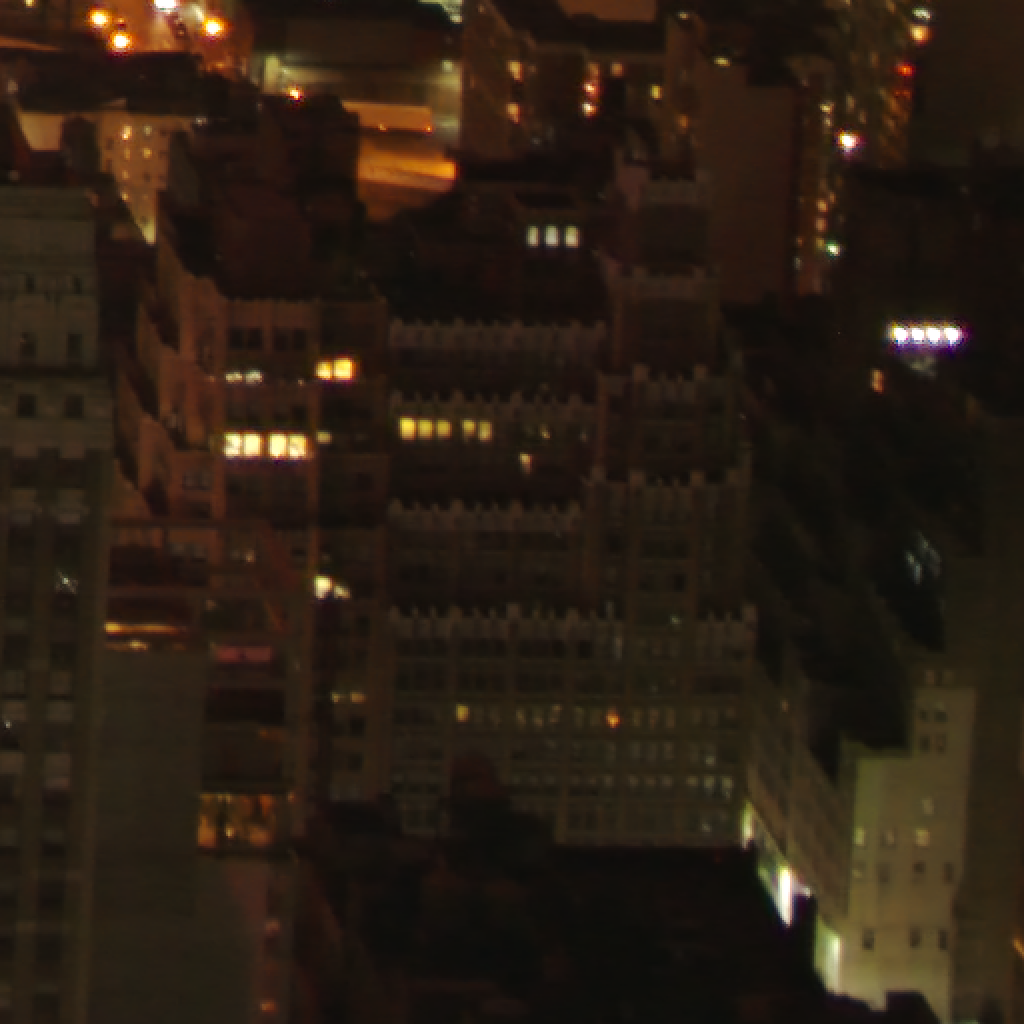
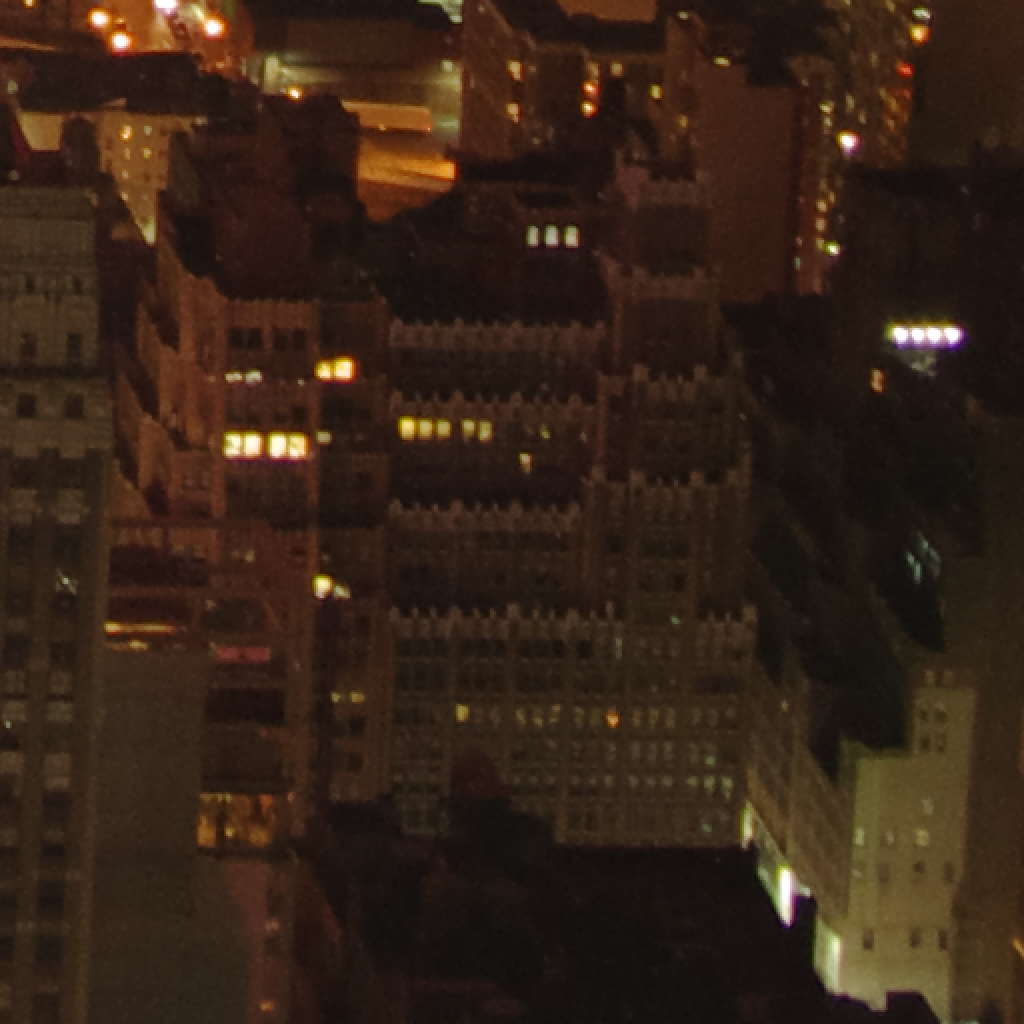
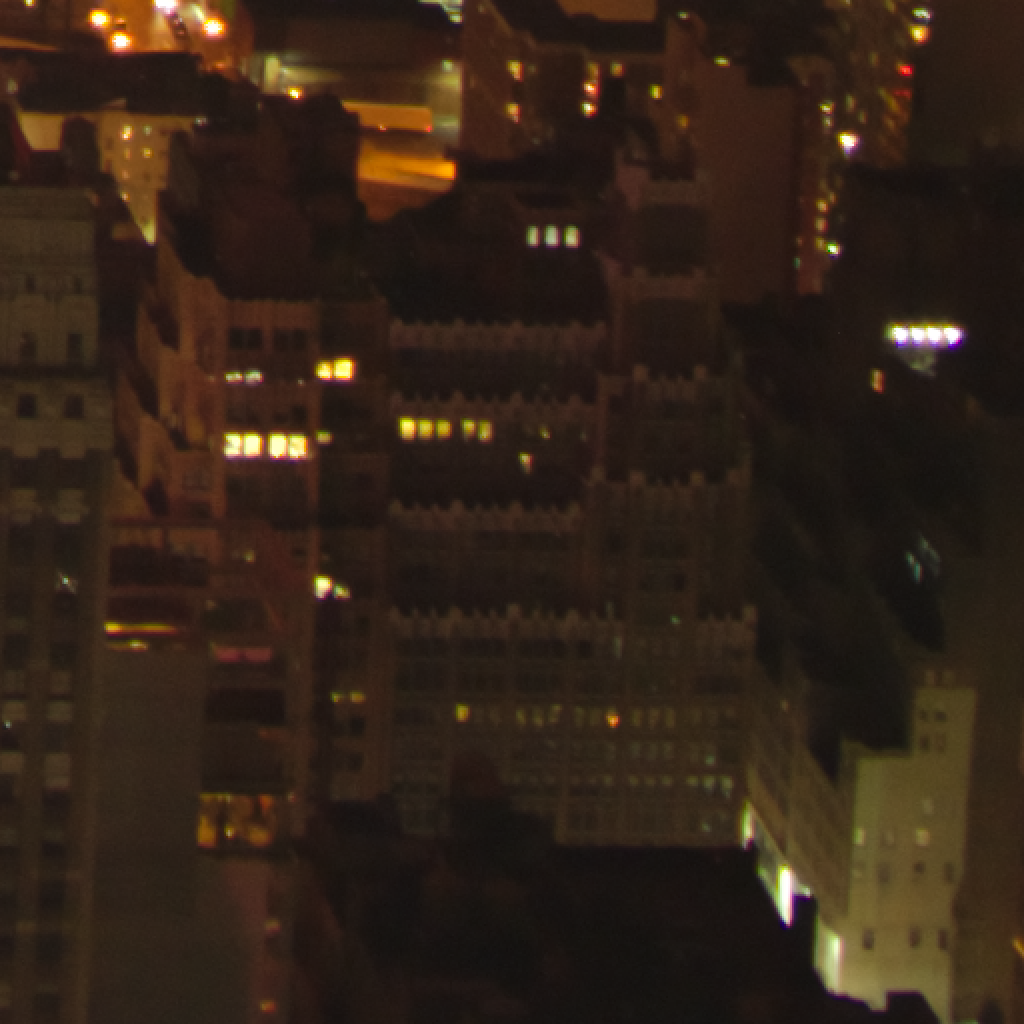
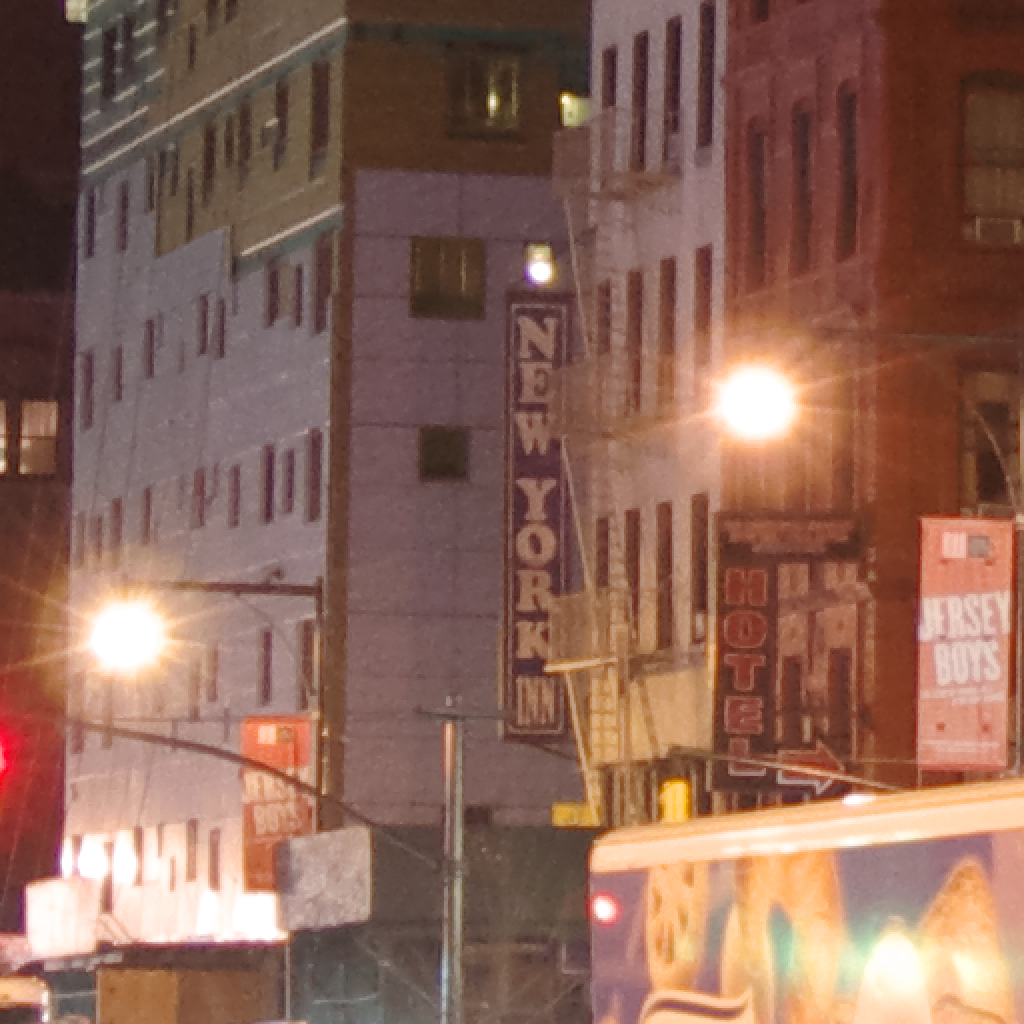
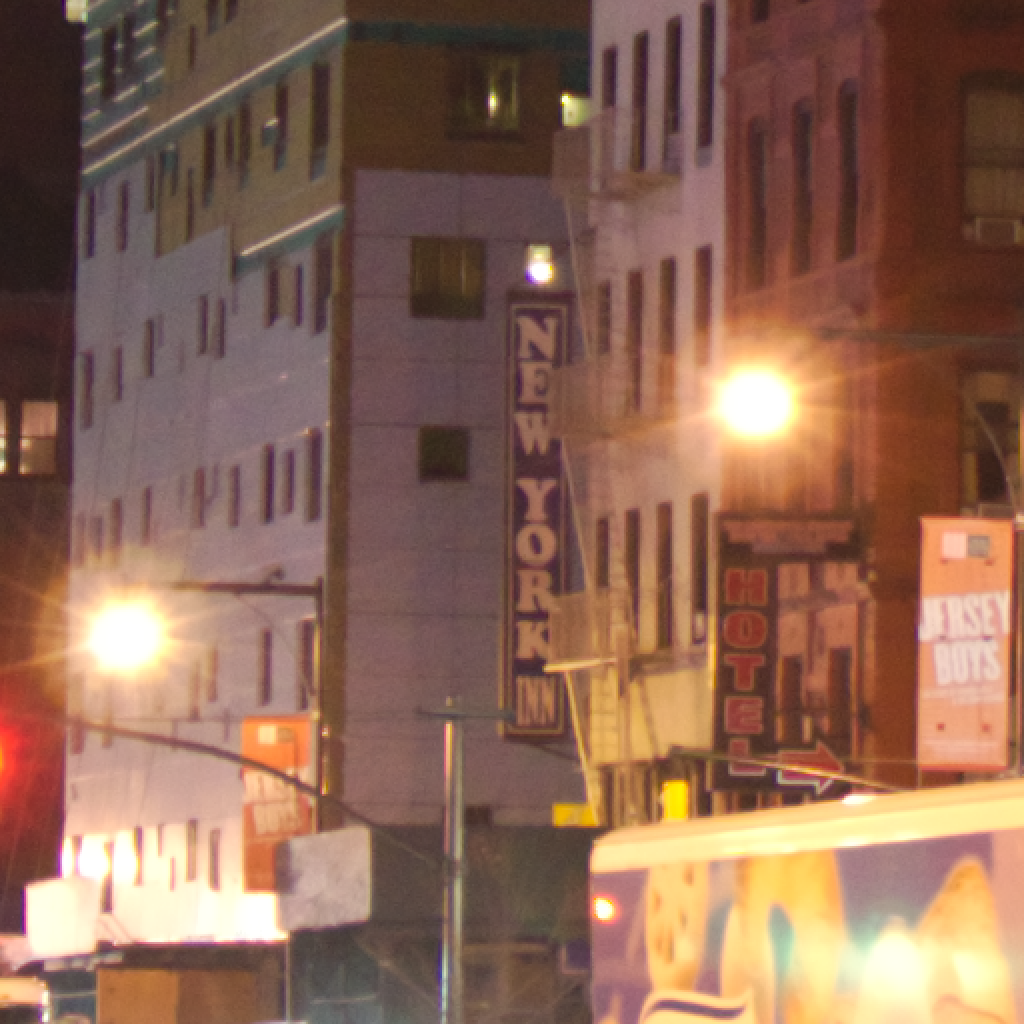
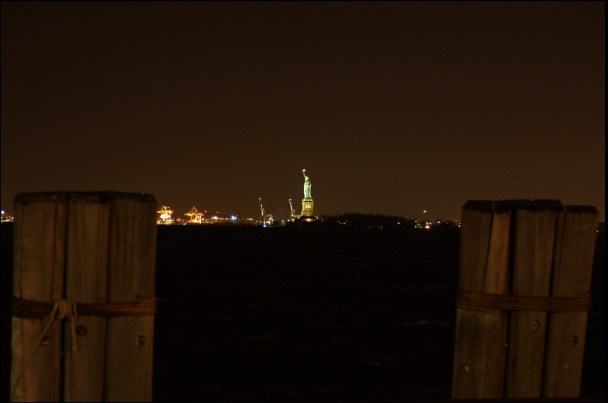
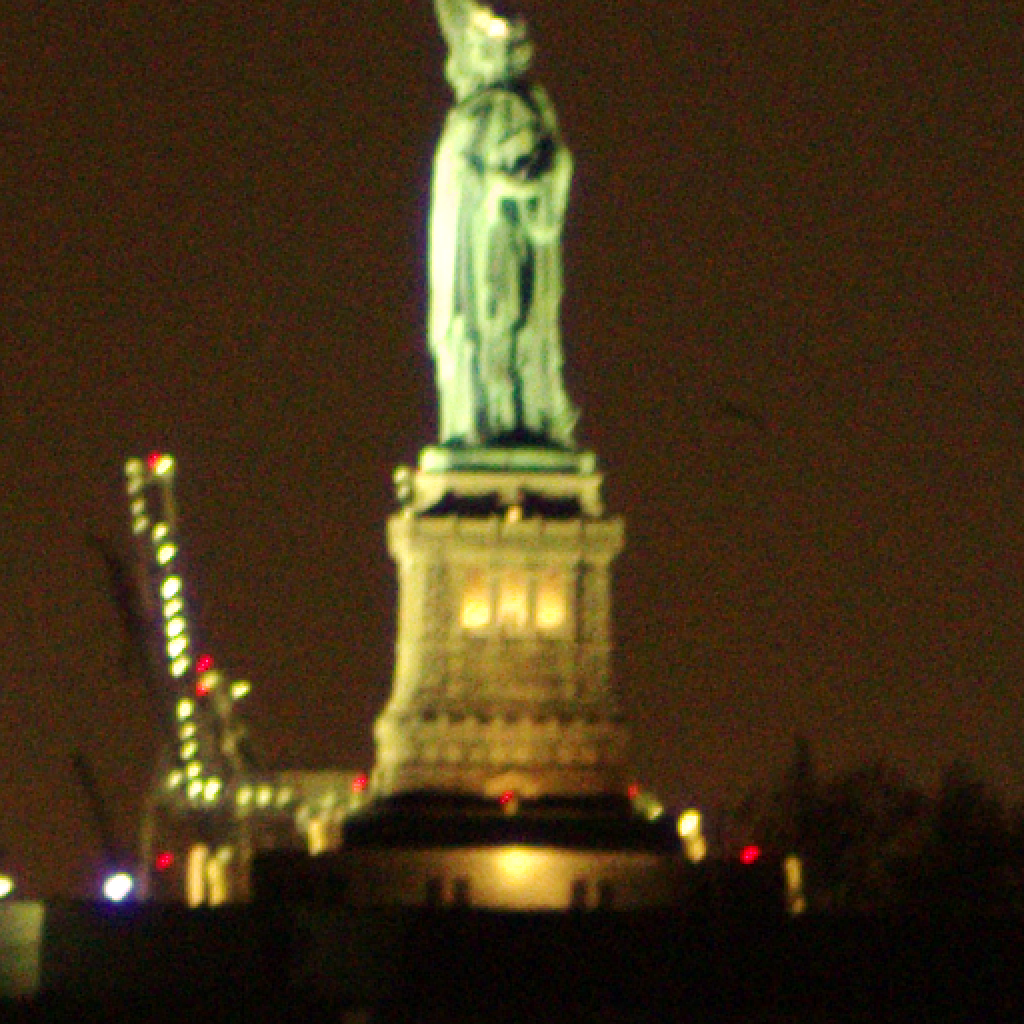
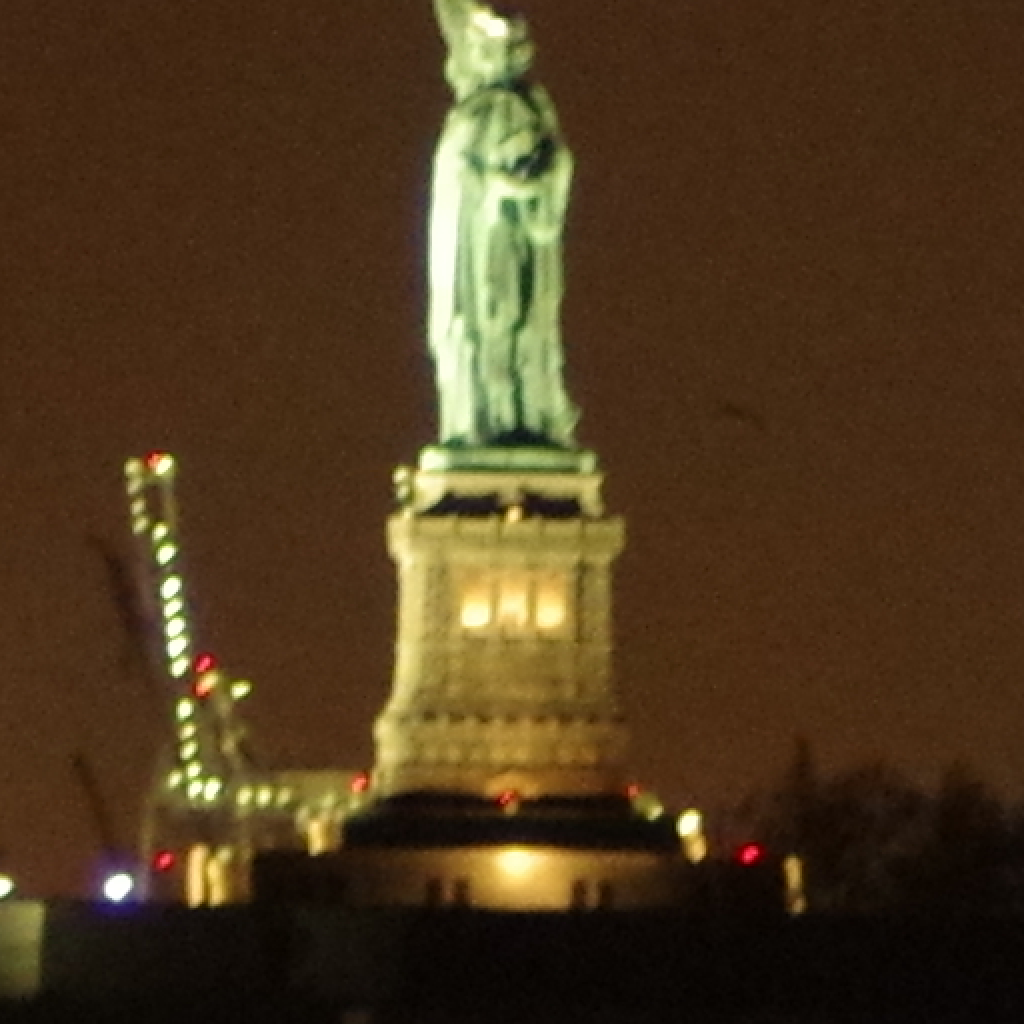
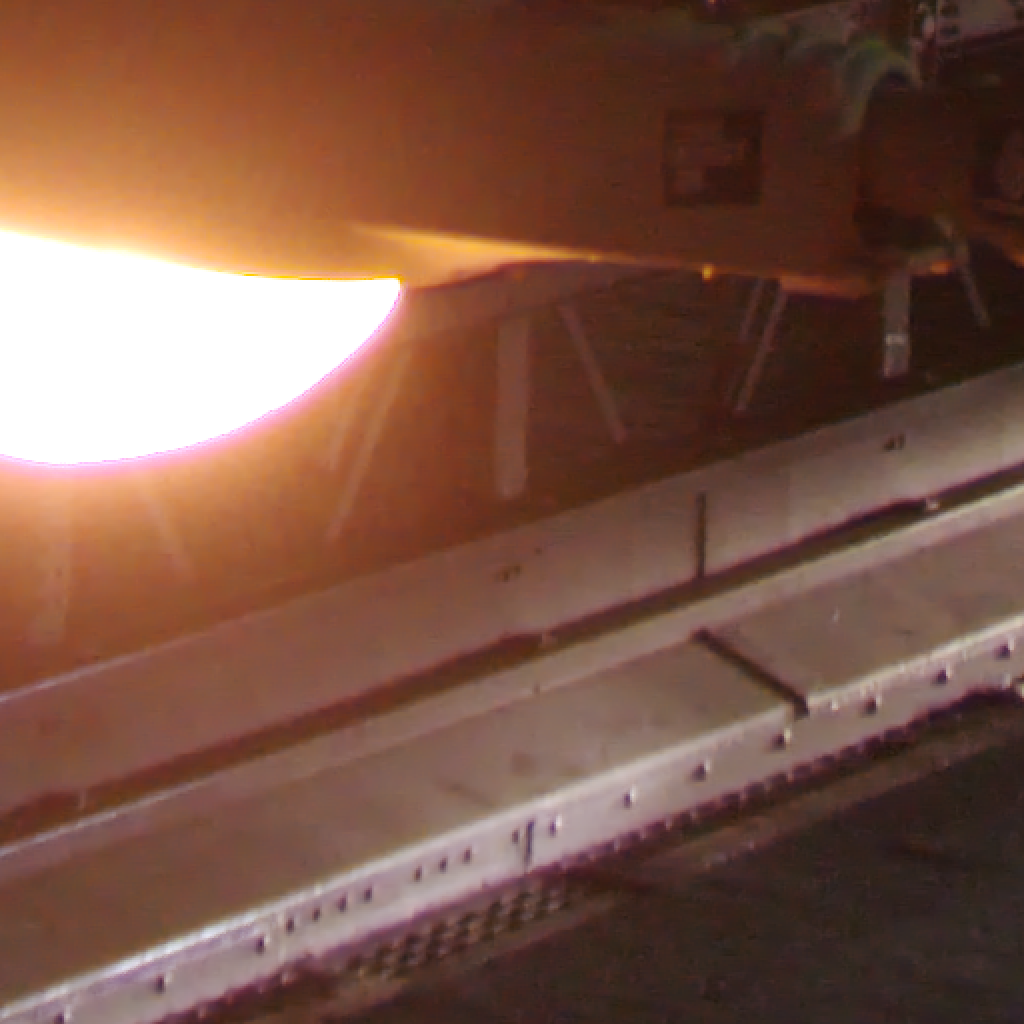
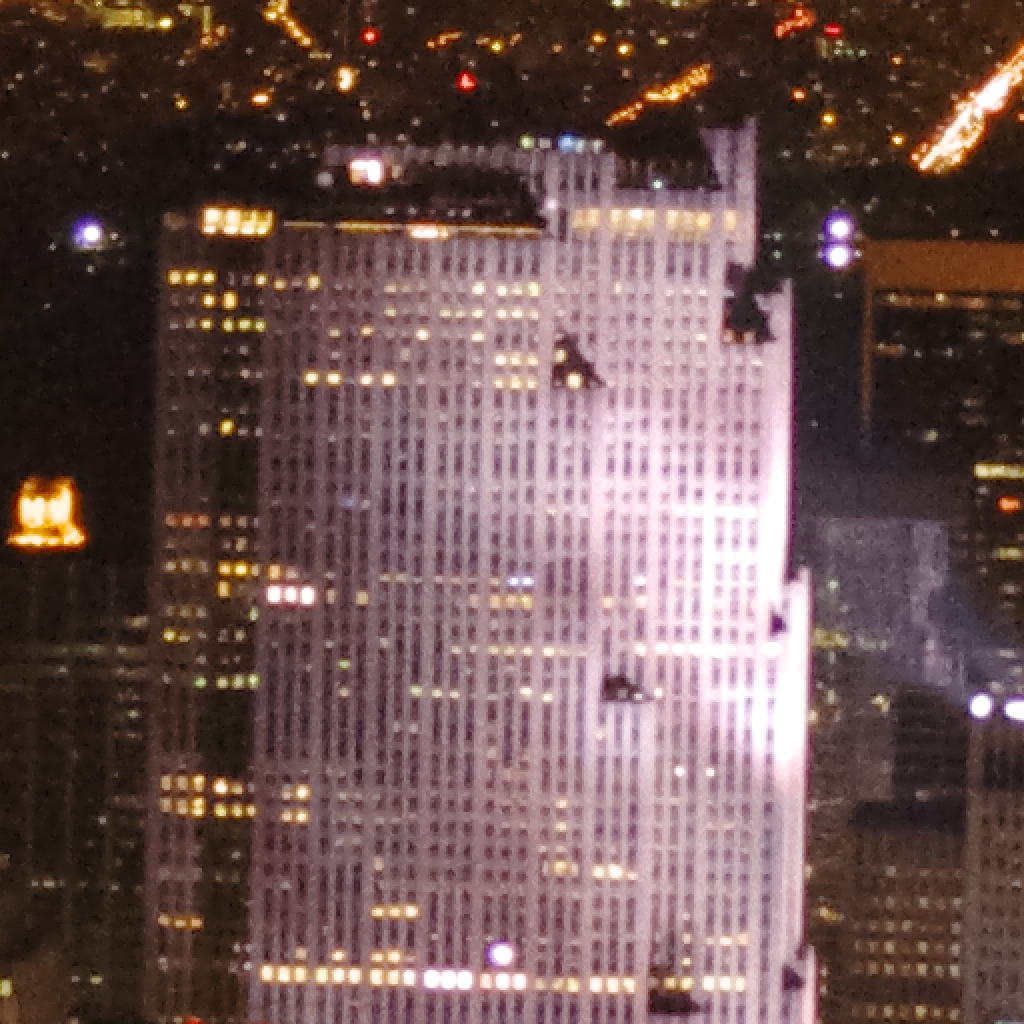
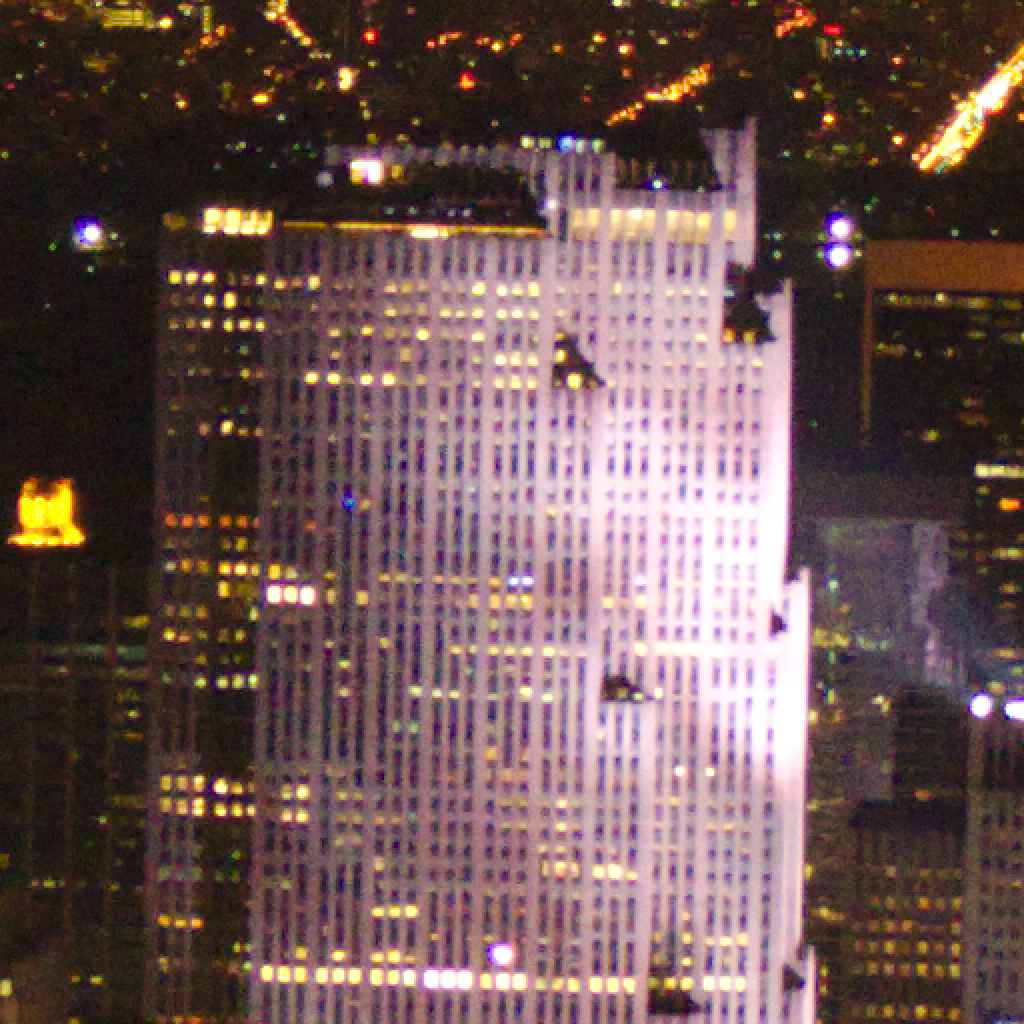
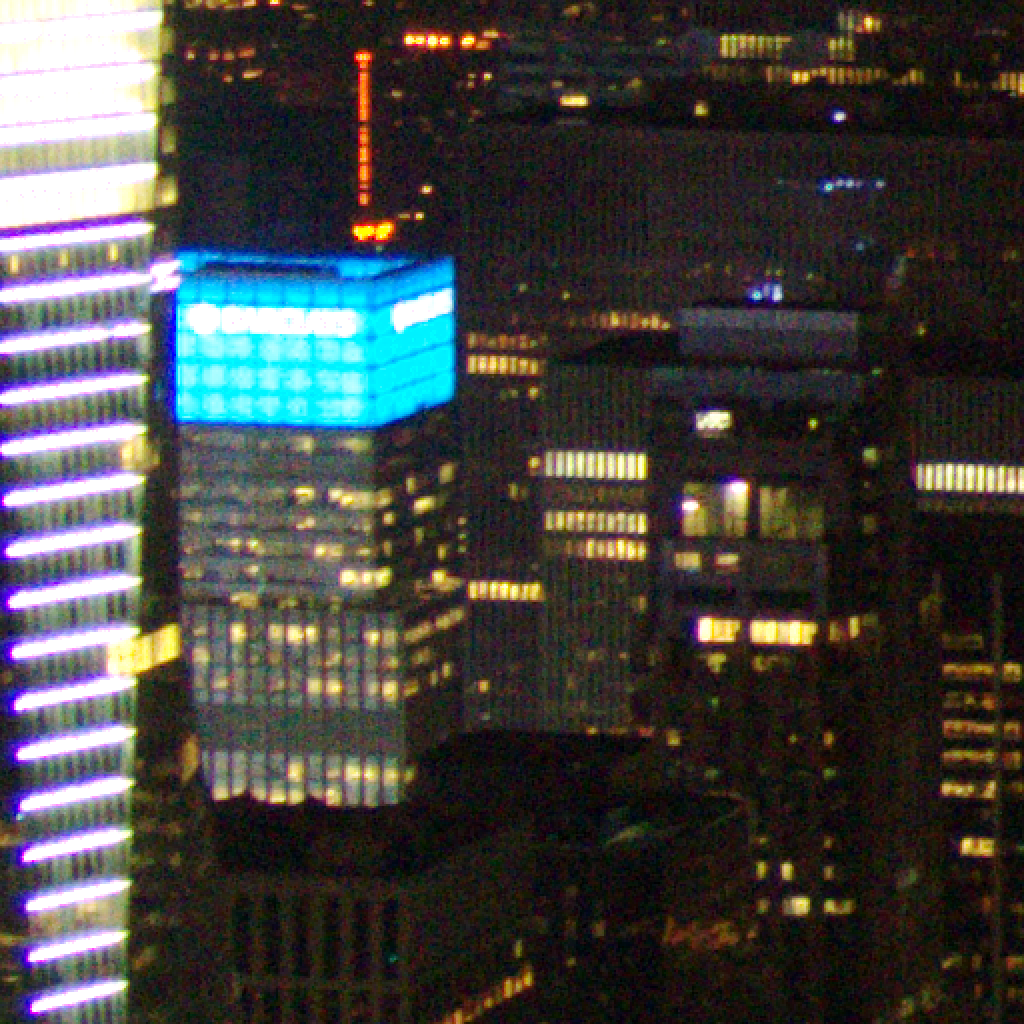
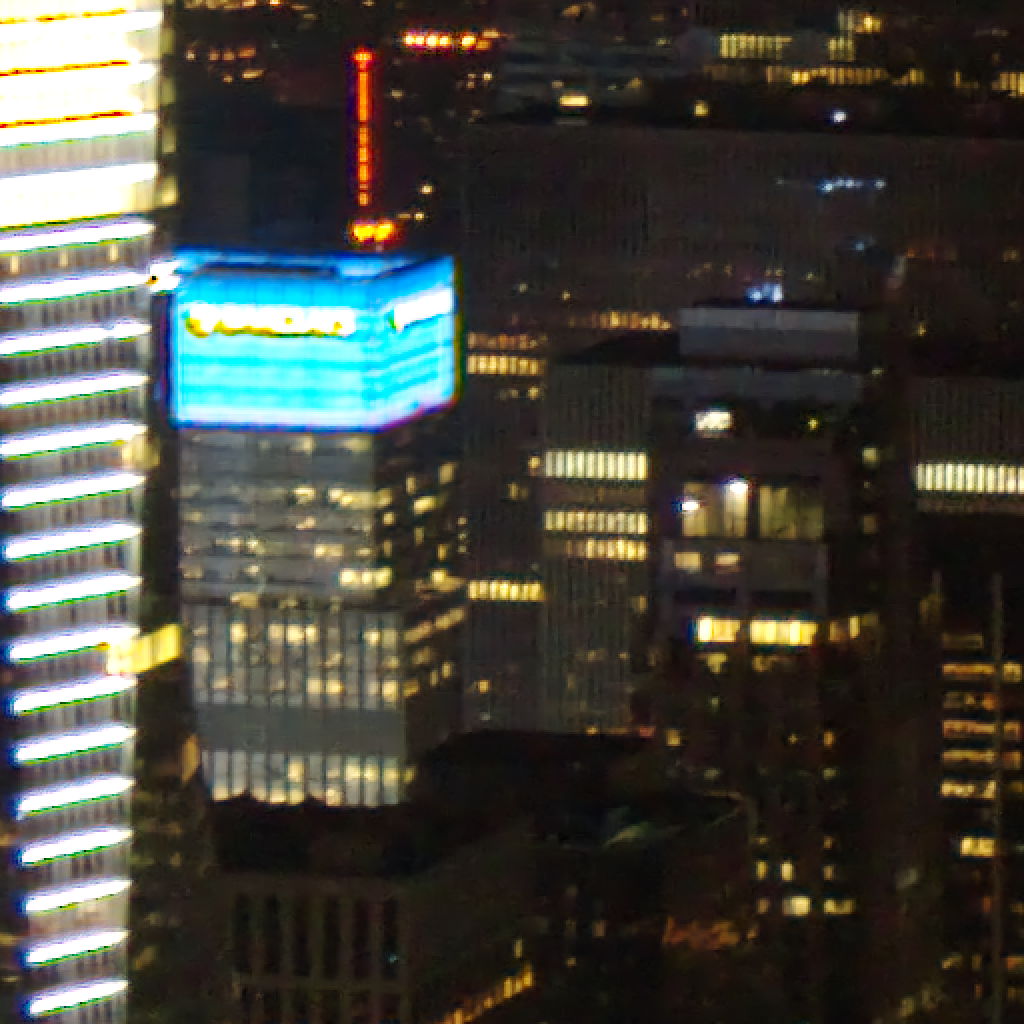
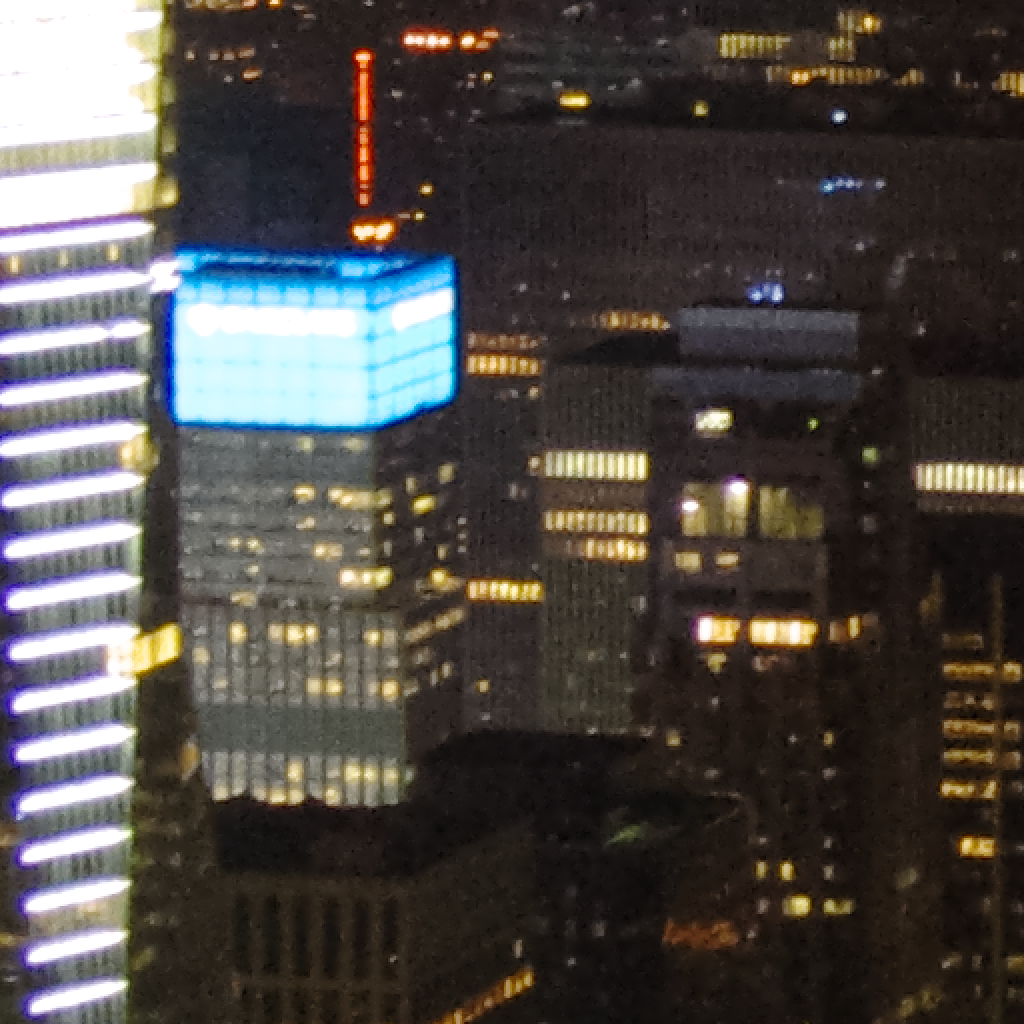
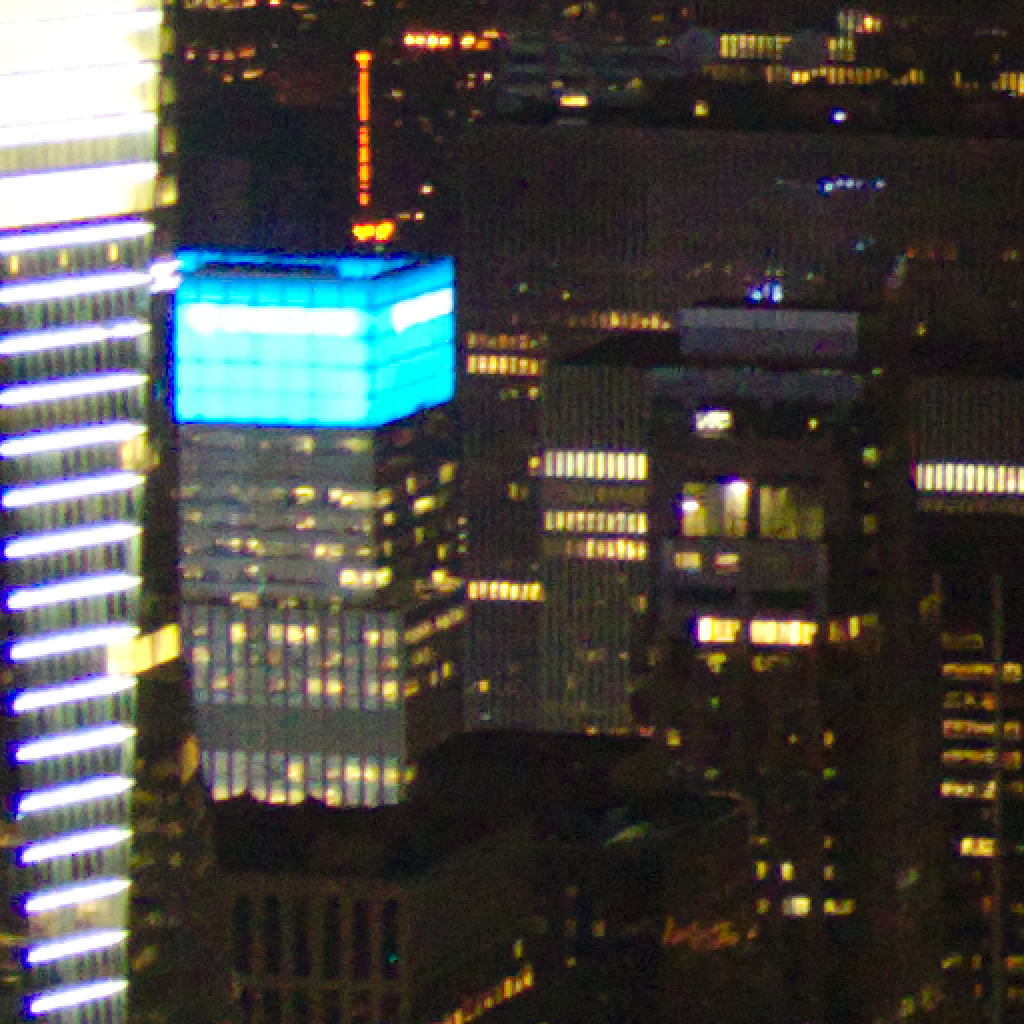
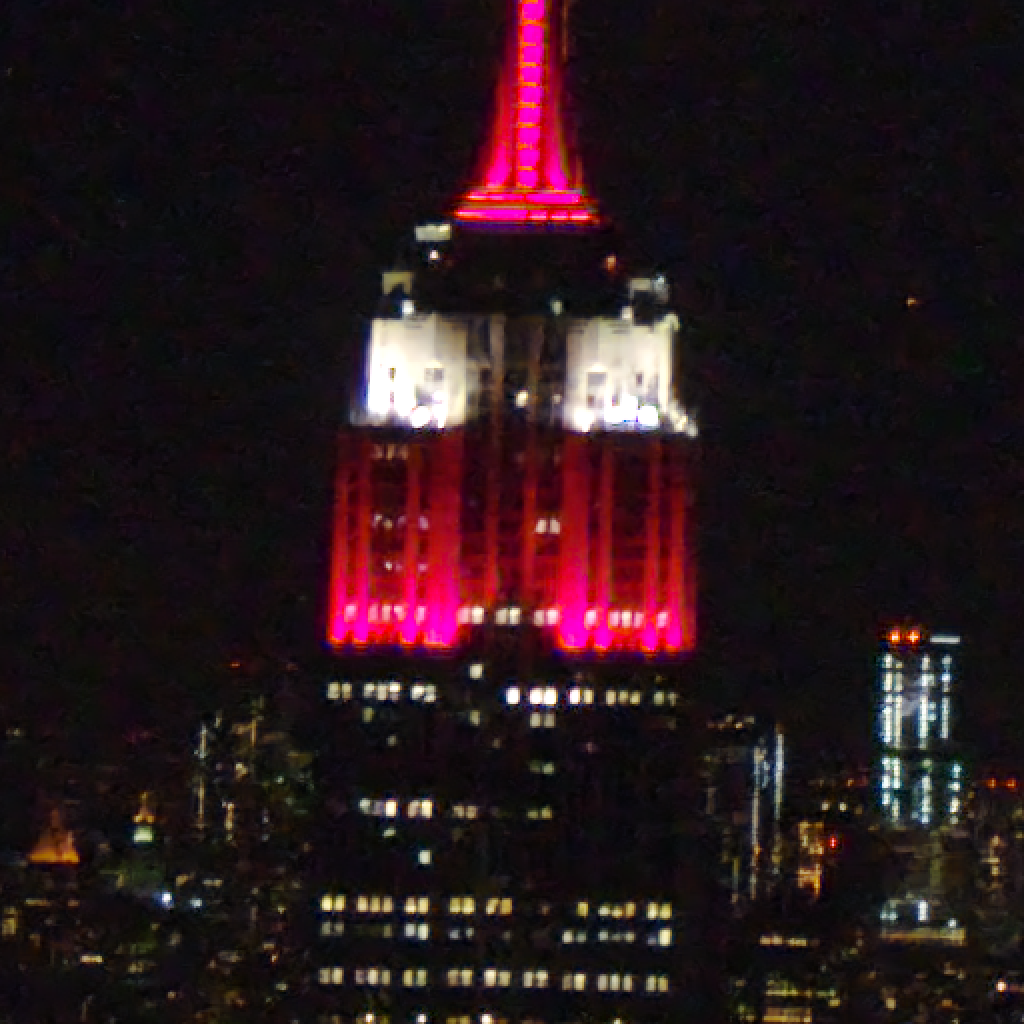
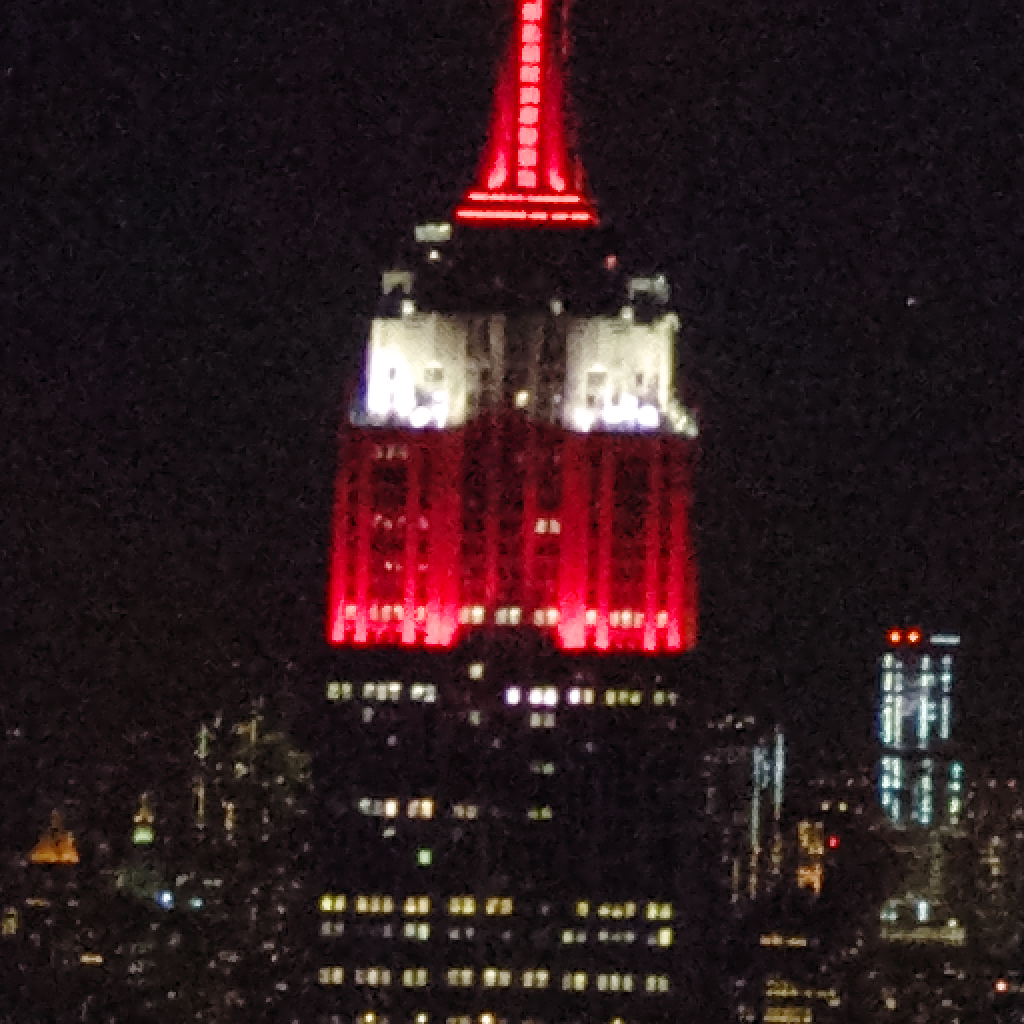
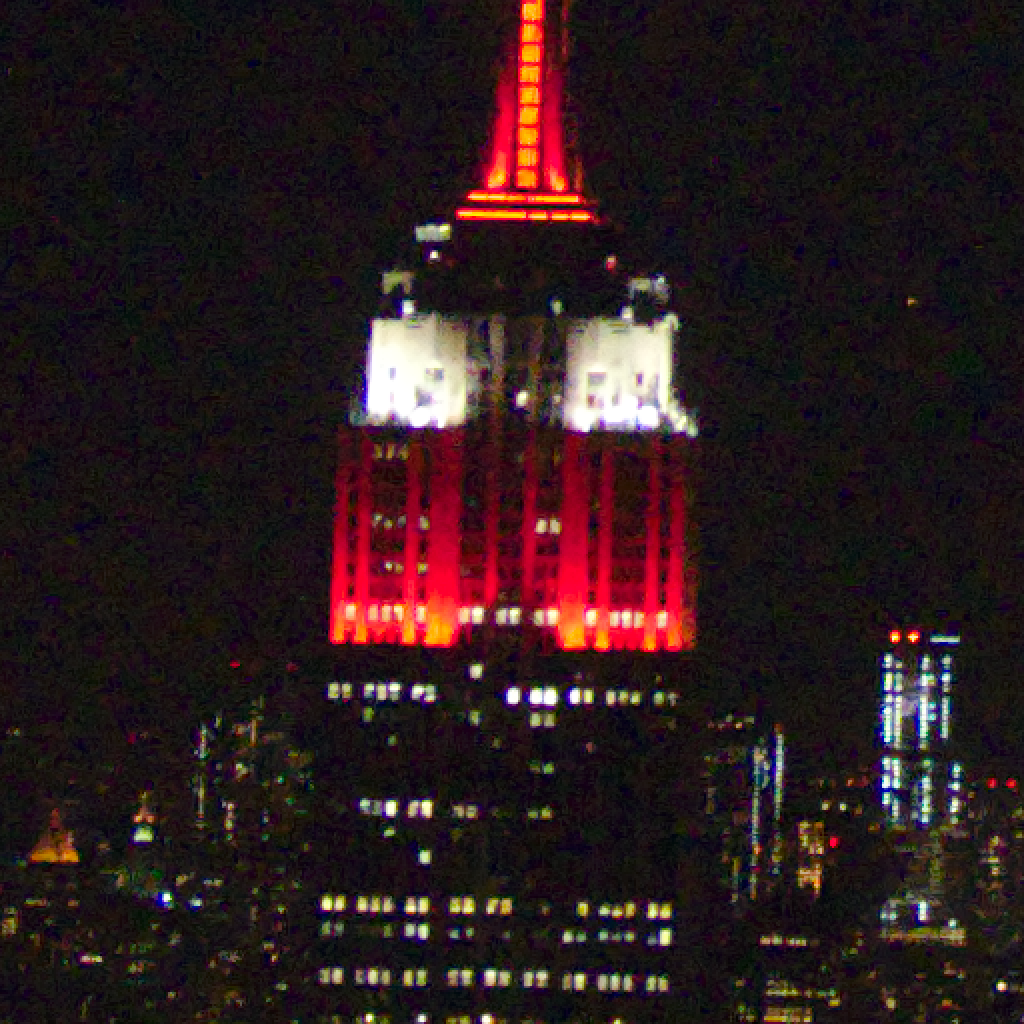
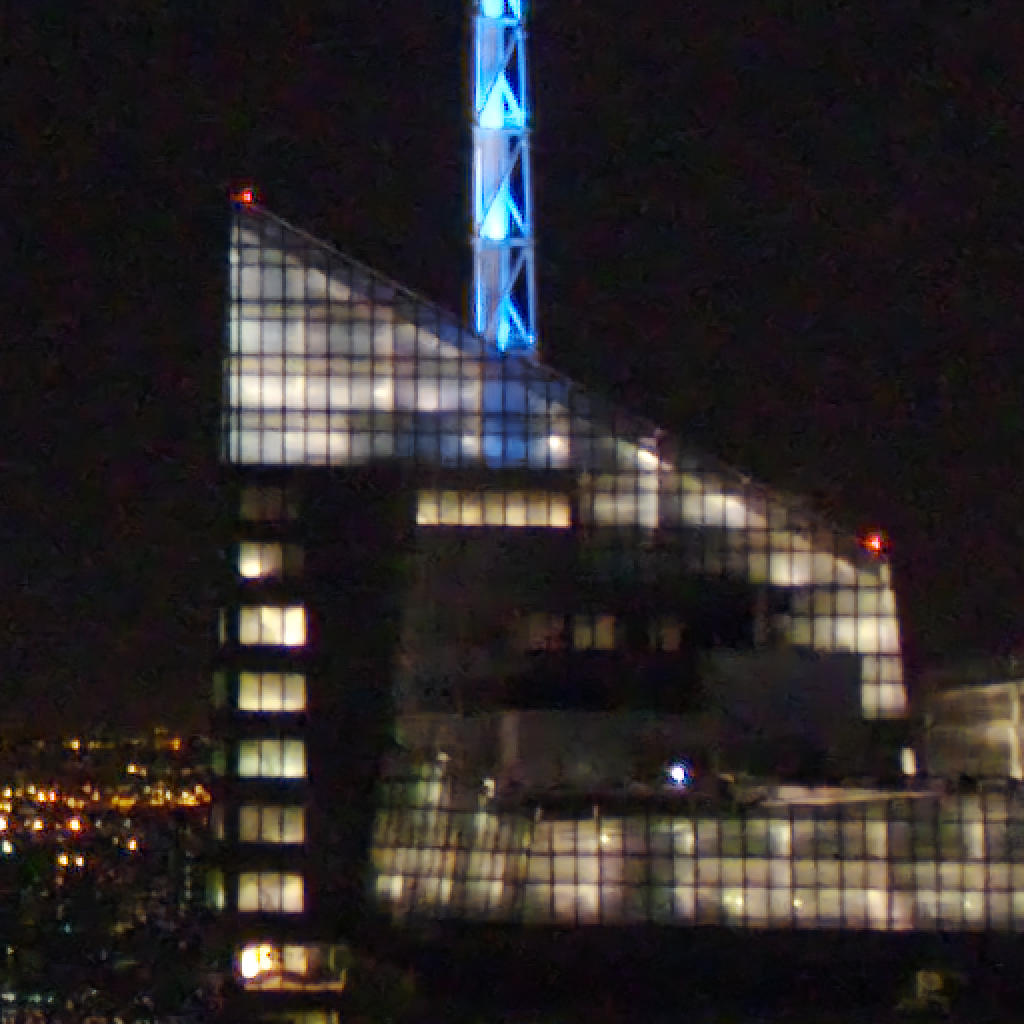
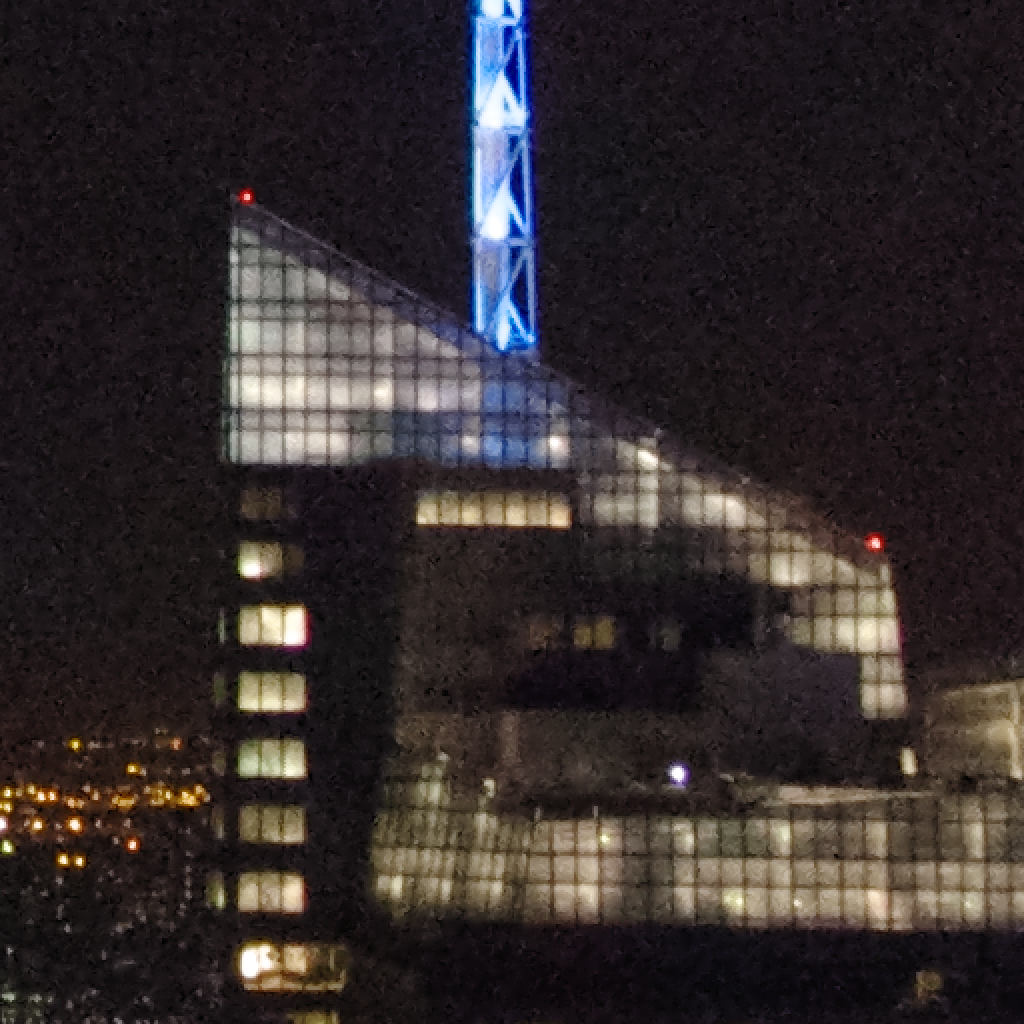
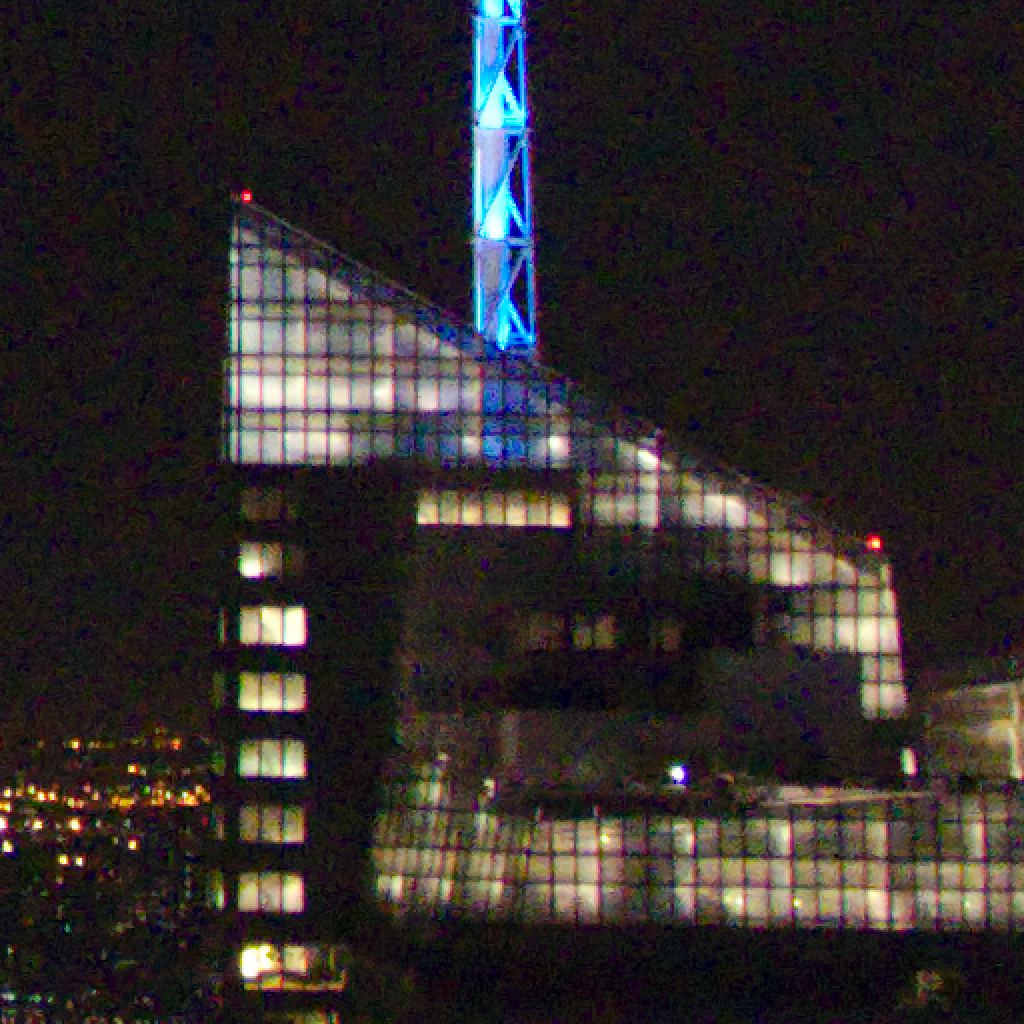
Artifacts on bright light spots:
| Noisy RAW image simple demosaicing | Result of CNN |
|---|---|
 |
 |
| Note the checker board artifacts |
ISO 200
| Noisy RAW image simple demosaicing | Result of CNN |
|---|---|
 |
 |
| Noisy RAW image simple demosaicing | Result of CNN |
|---|---|
 |
 |
 |
 |
| Pentax RAW development | Darktable |
ISO 400
| Noisy RAW image simple demosaicing | Result of CNN |
|---|---|
 |
 |
 |
 |
| Pentax RAW development | Darktable |
ISO 800
| Noisy RAW image simple demosaicing | Result of CNN |
|---|---|
 |
 |
 |
 |
| Pentax RAW development | Darktable |
| Noisy RAW image simple demosaicing | Result of CNN |
|---|---|
 |
 |
 |
|
| Pentax RAW development |
| Noisy RAW image simple demosaicing | Result of CNN |
|---|---|
 |
 |
 |
 |
| Pentax RAW development | Darktable |
ISO 1600
| Noisy RAW image simple demosaicing | Result of CNN |
|---|---|
 |
 |
 |
|
| Out of camera JPEG |

| Noisy RAW image simple demosaicing | Result of CNN |
|---|---|
 |
 |
ISO 3200
| Noisy RAW image simple demosaicing | Result of CNN |
|---|---|
 |
 |
 |
 |
| Pentax RAW development | Darktable |
| Noisy RAW image simple demosaicing | Result of CNN |
|---|---|
 |
 |
 |
 |
| Pentax RAW development | Darktable |
ISO 6400
| Noisy RAW image simple demosaicing | Result of CNN |
|---|---|
 |
 |
 |
 |
| Pentax RAW development | Darktable |
| Noisy RAW image simple demosaicing | Result of CNN |
|---|---|
 |
 |
 |
 |
| Pentax RAW development | Darktable |
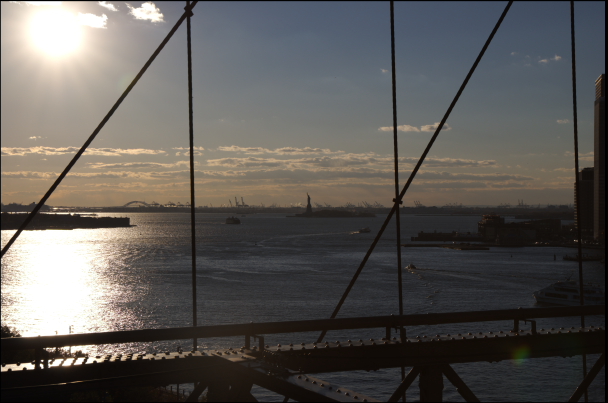
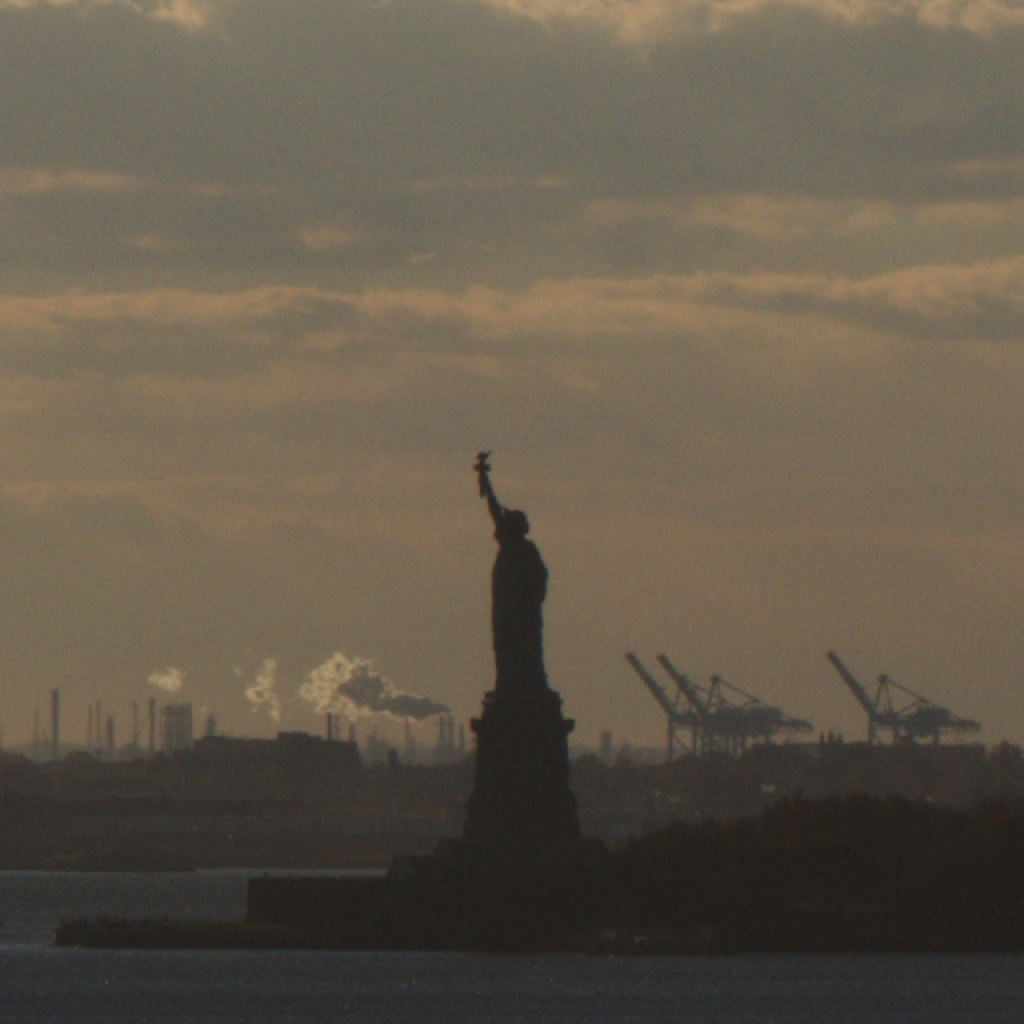
Lighthouse
(Kodak image set)
| Noisy simulated RAW at ISO 100 simple demosaicing | Result of CNN |
|---|---|
 |
 |
 |
 |
| Noisy simulated RAW at ISO 3200 simple demosaicing | Result of CNN |